

VR Fantasy Lab Gameplay 
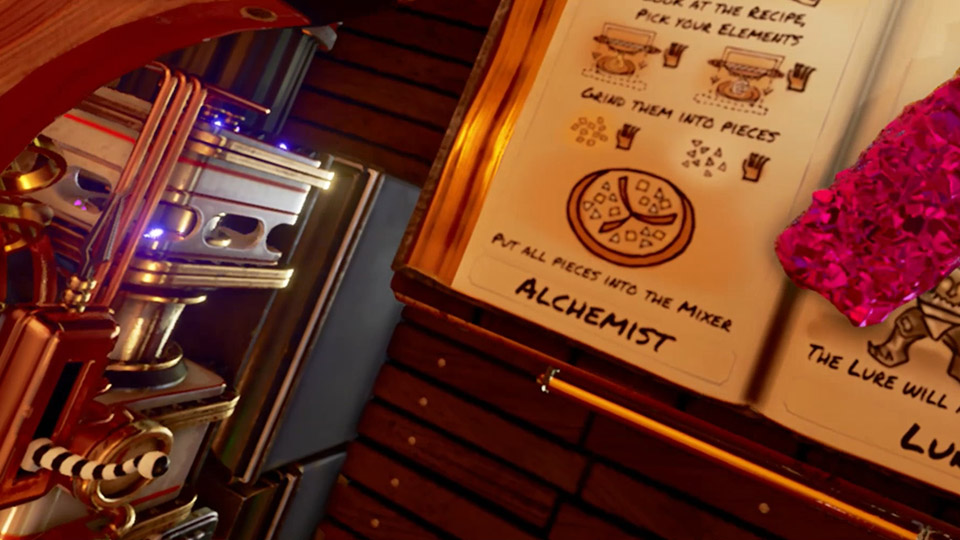
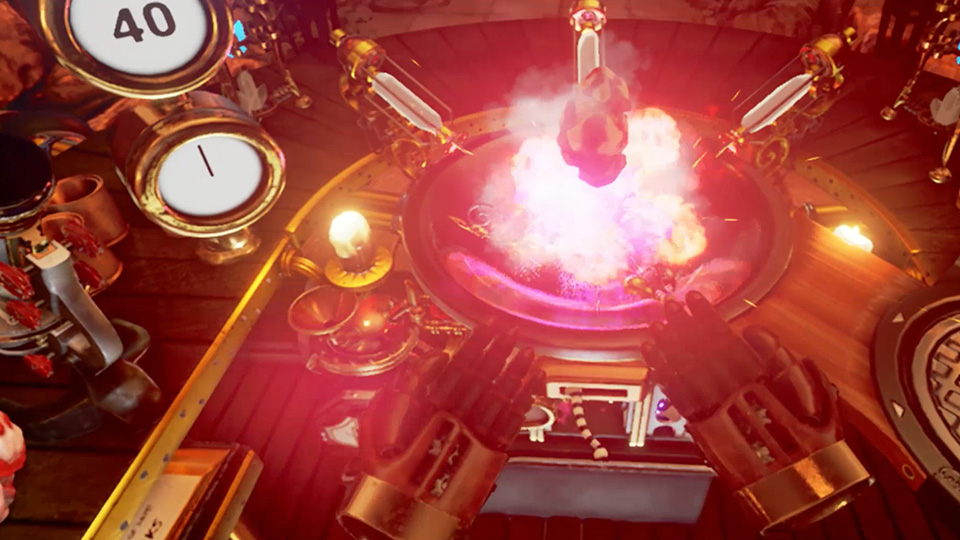
Re-designed from the ground up to accommodate the Oculus Touch VR experience, this steam punk inspired laboratory brings fantasy science vividly into life.
The demo is based around nine experiments, each seamlessly progressing from the last.
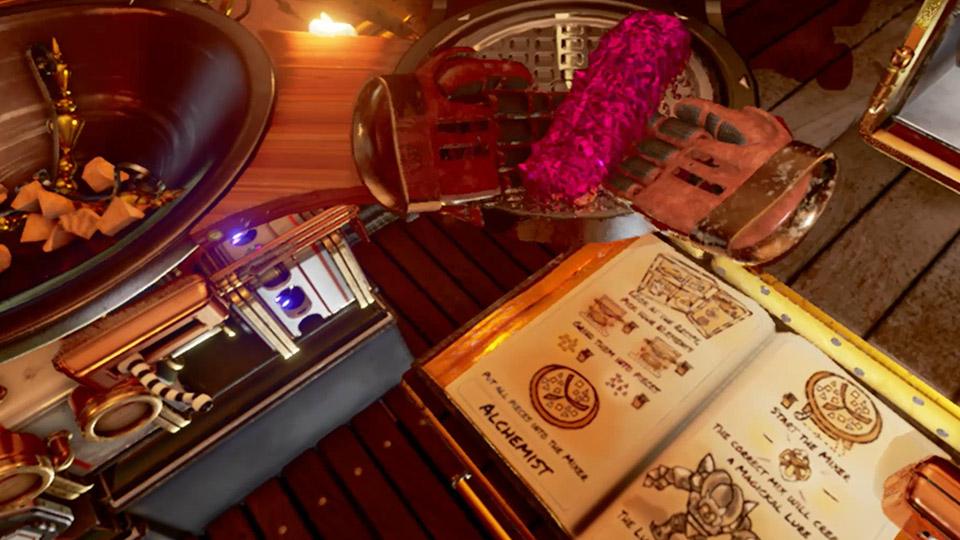 Loading the crusher
User experience design was a focal point for development. If a player doesn't know what to do, they will often give up and stop playing.
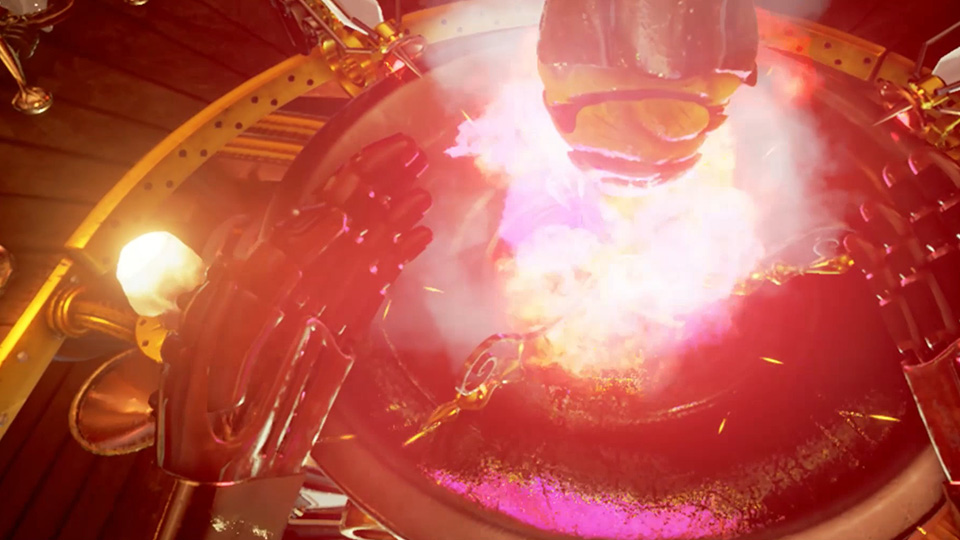
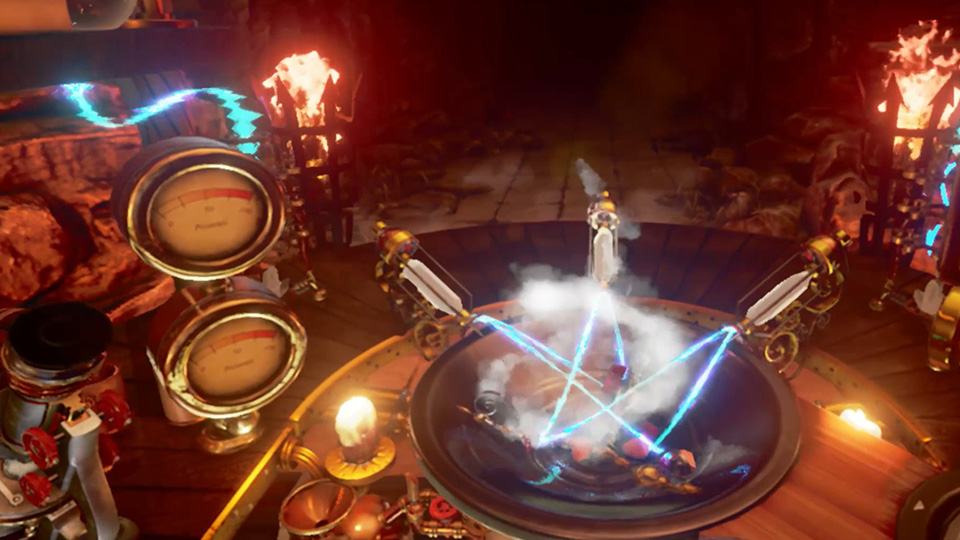 Mixing the elements
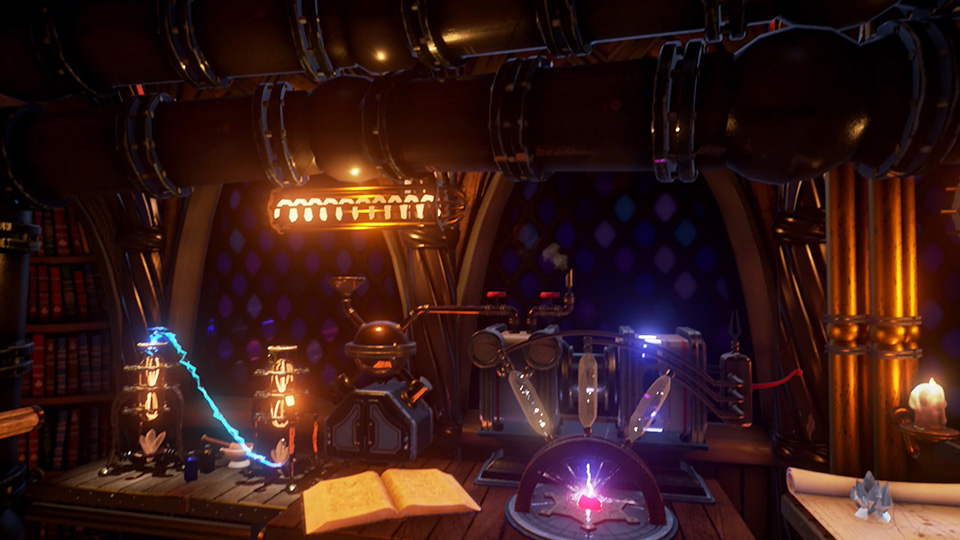
The key to delivering such a rich experience is balancing high quality models and textures with vivid particles and sound effects.
 A successful experiment!
On The Metal is Steve Oldacre, Alex Richards, Robert Cauldwell, Richard Griffin, Liam O'Mahoney, Sasha Mihailova, Dave Moore.
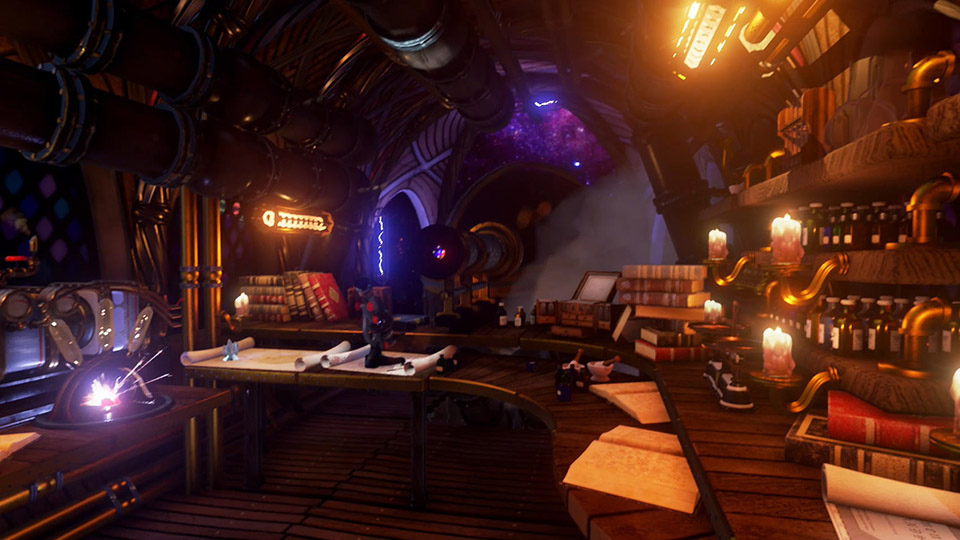
VR Fantasy Laboratory
Built for VR, this fantasy environment is is a place for experiments of the magical kind. Created by the team at On The Metal using Unreal Engine 4.
There are two videos for this project, with a third video on the way soon.
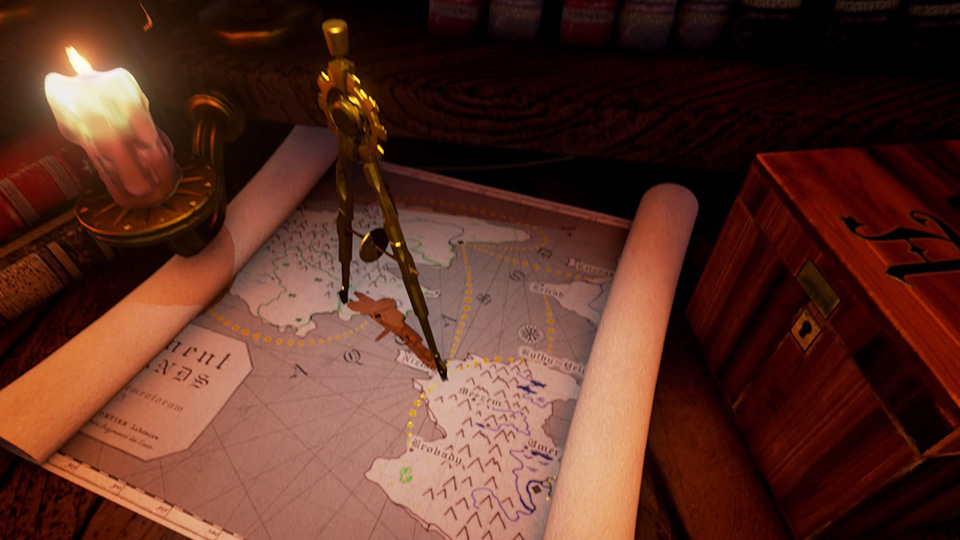 Navigation
Based upon a original story overview, we created a playable game demo to test mechanics and themes. It was demonstrated on a Windows PC with the Oculus Rift Virtual Reality headset.
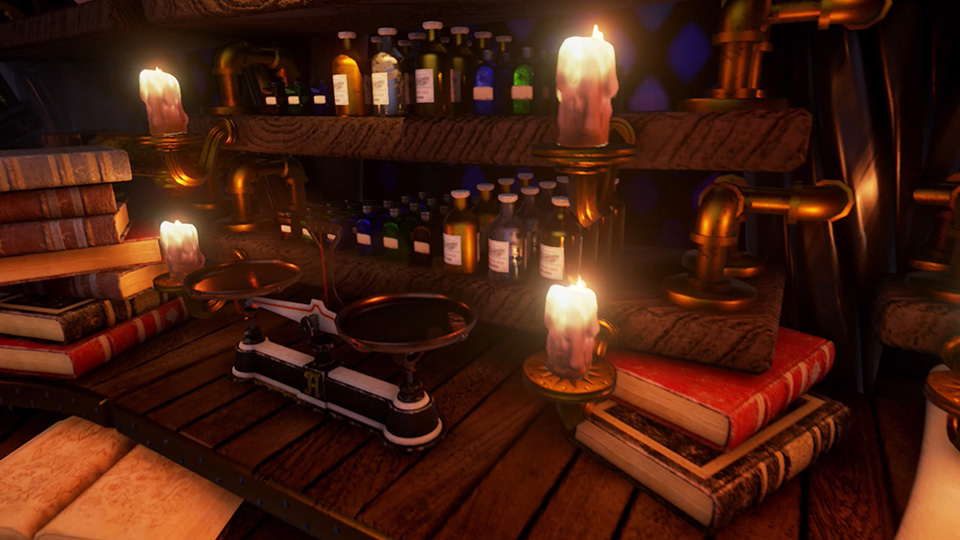
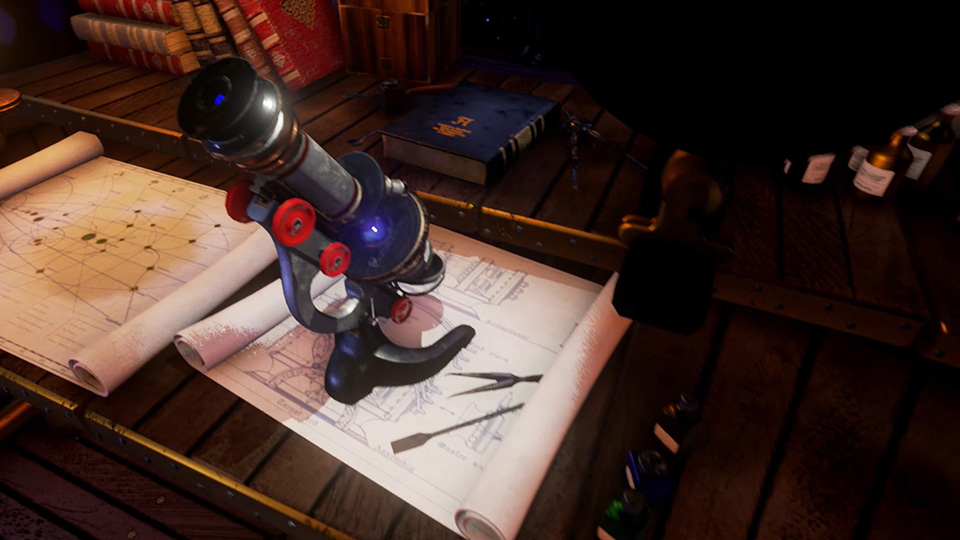 Examination
The team did a great job with this and we learnt a lot about developing in VR and how to get the most out of it using Unreal Engine.
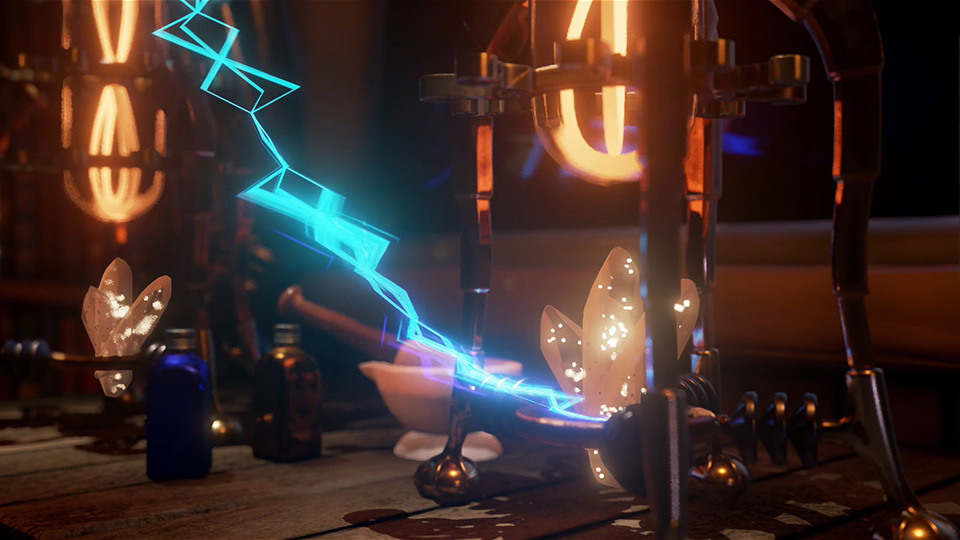 Experimentation
On The Metal is Steve Oldacre, Alex Richards, Robert Cauldwell, Richard Griffin, Liam O'Mahoney, Sasha Mihailova, Dave Moore.
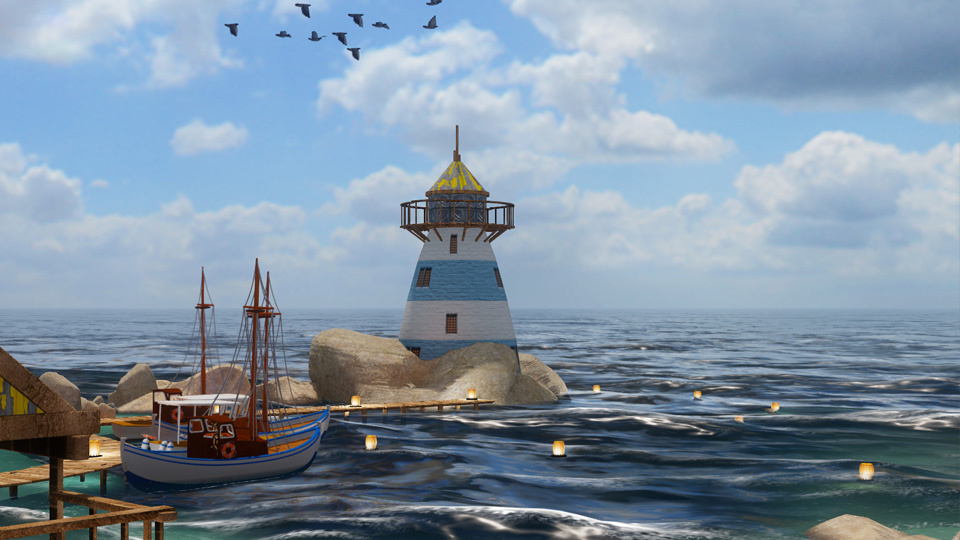
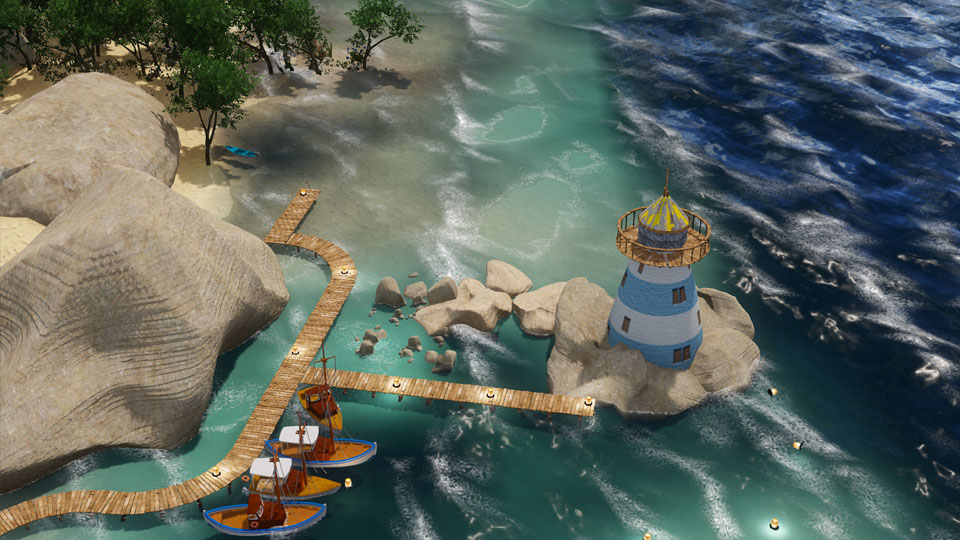
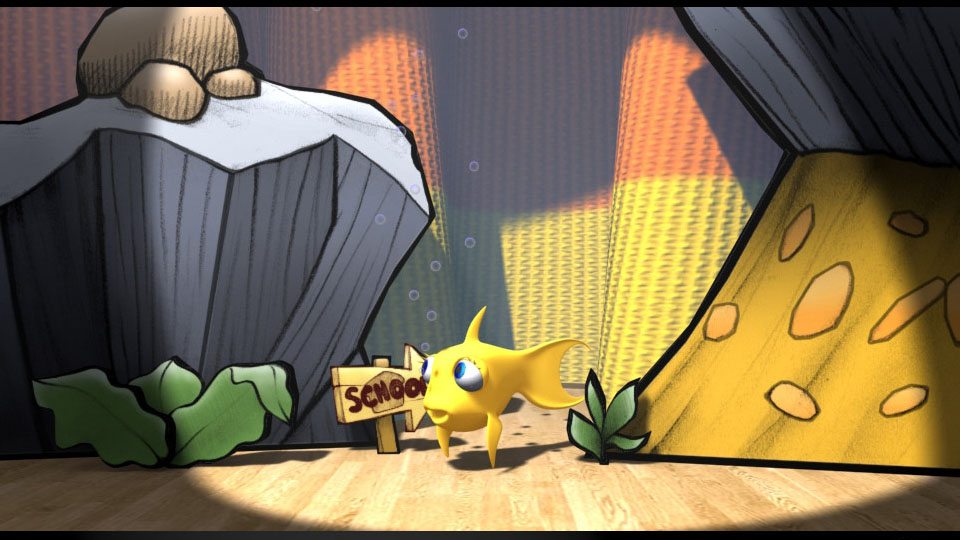
VR Island Prototype
This was a game demo put together over two weeks using the CryEngine / Amazon AAA toolset called "Lumberyard".
With a team of two artists and a programmer we built an island setting and brought it to life using great Lumberyard tools such as the Boid Gems and of course the foliage painting.
It was great to use the skills I had learnt on the old version of CryEngine Sandbox editor in Dubai on a new project.
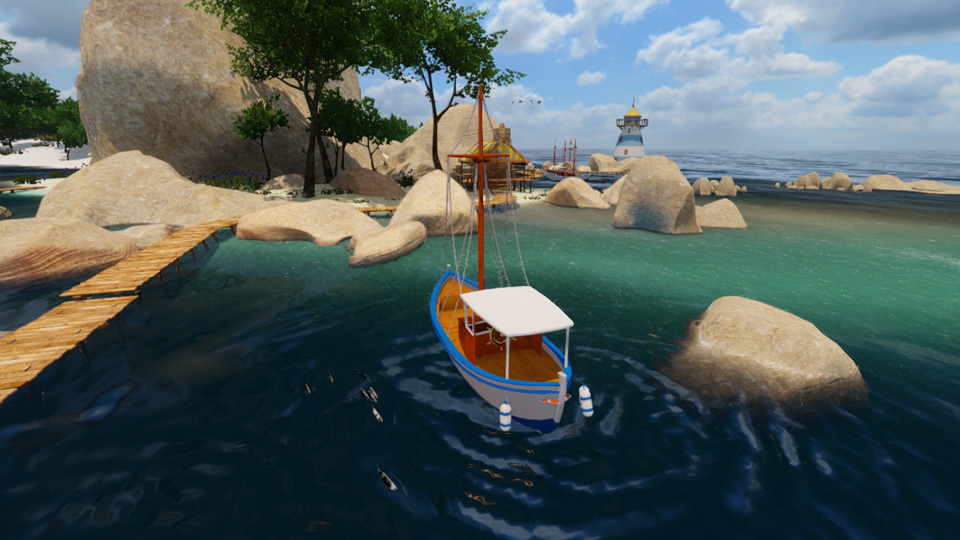 Finding a good fishing spot in the shallows.
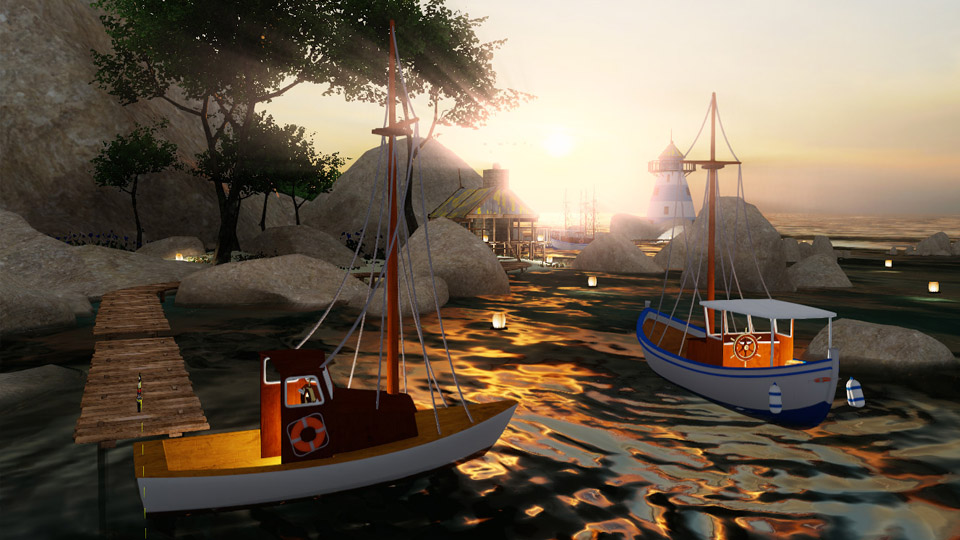
Programmer Dave Moore added some great functionality for driving the lovely boats around which our Artist Richard Griffin modelled and textured.
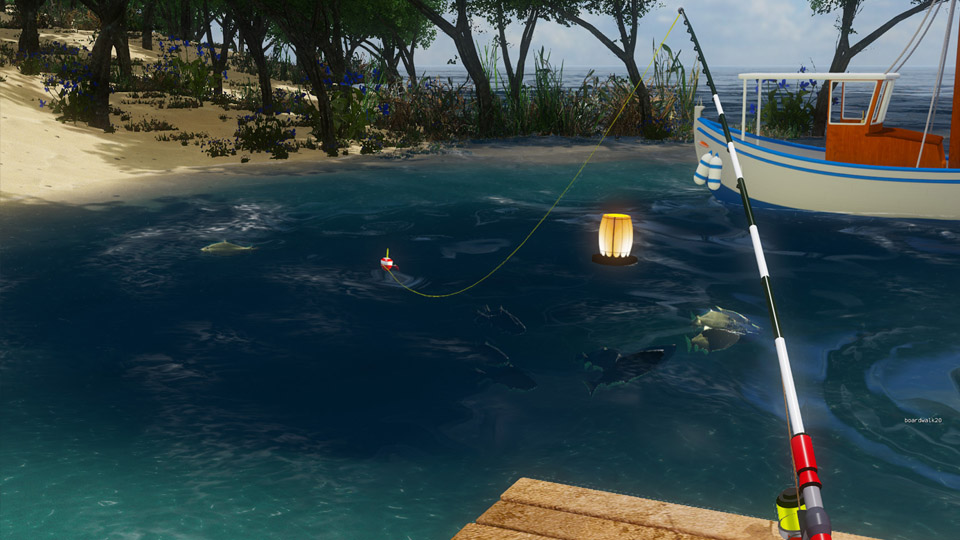 Casting out from a jetty.
We also used the physics system to set up the fishing rod. The line used the Rope physics entity and the float was a Rigid Body entity with a low mass so it floated. Although we had to use some higher than real life values
on these entities in order to stabilise them on the water surface.
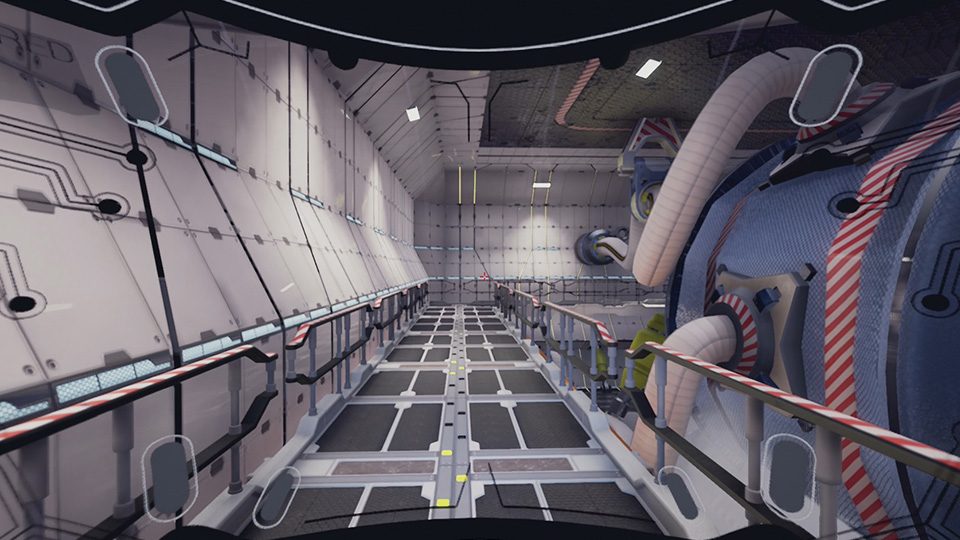
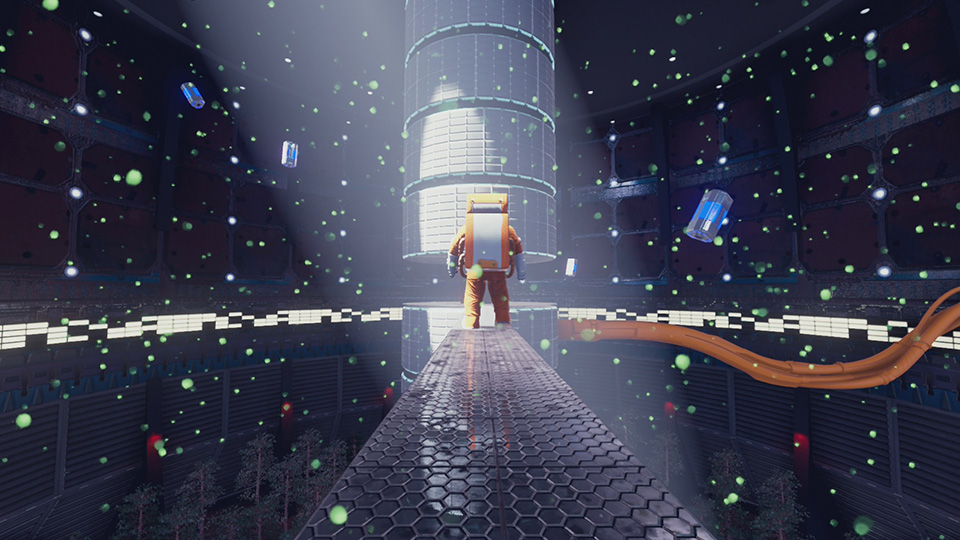
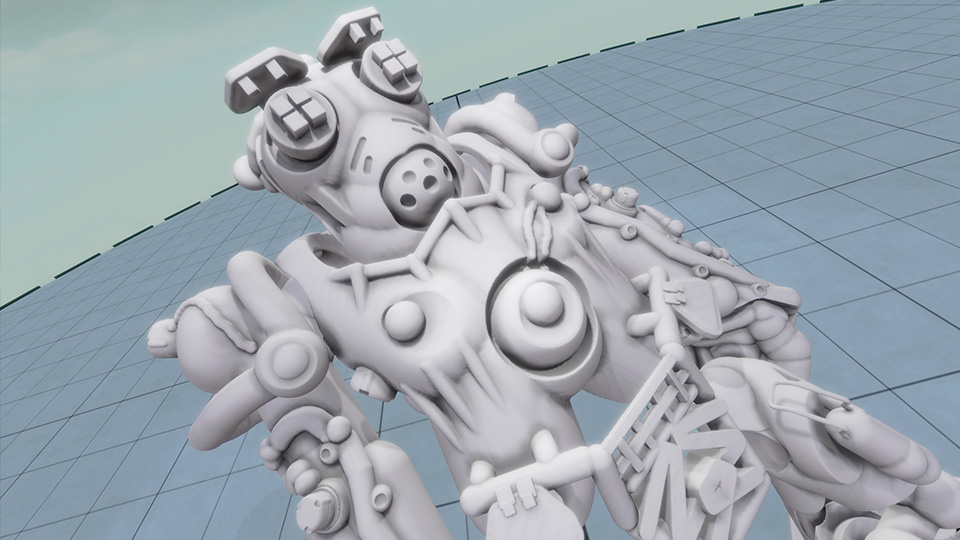
VR Sci-fi Prototype
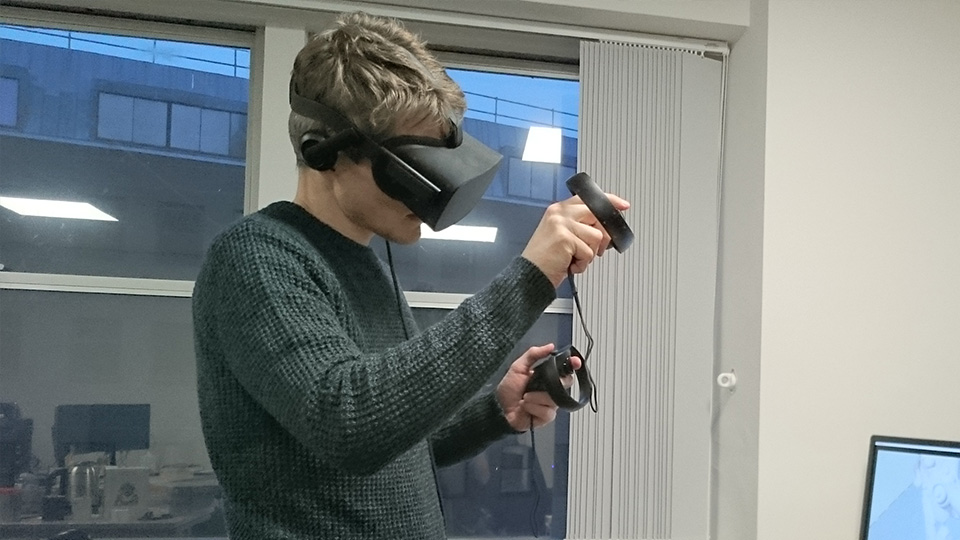
Atmosphere and mood demo put together by the team at On The Metal using Unreal Engine 4.
Based upon a original story overview, we created a playable game demo to test mechanics and themes. Using 3ds Max and Substance Designer
we created a set of assets for a each environment and built up the areas in the engine.
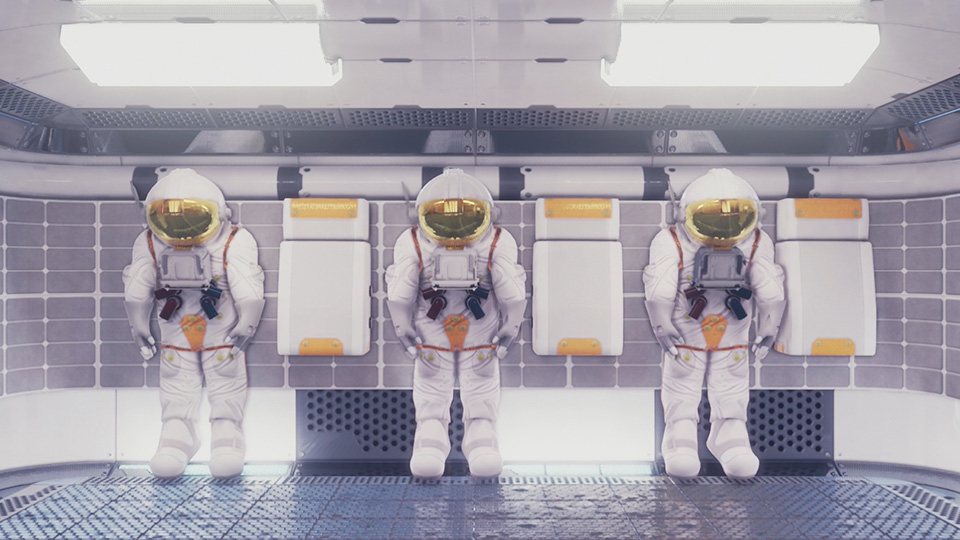 In VR there's a palpable sense of tension even through brightly lit areas
It was demonstrated on a Windows PC with the Oculus Rift Virtual Reality headset and a handheld gamepad.
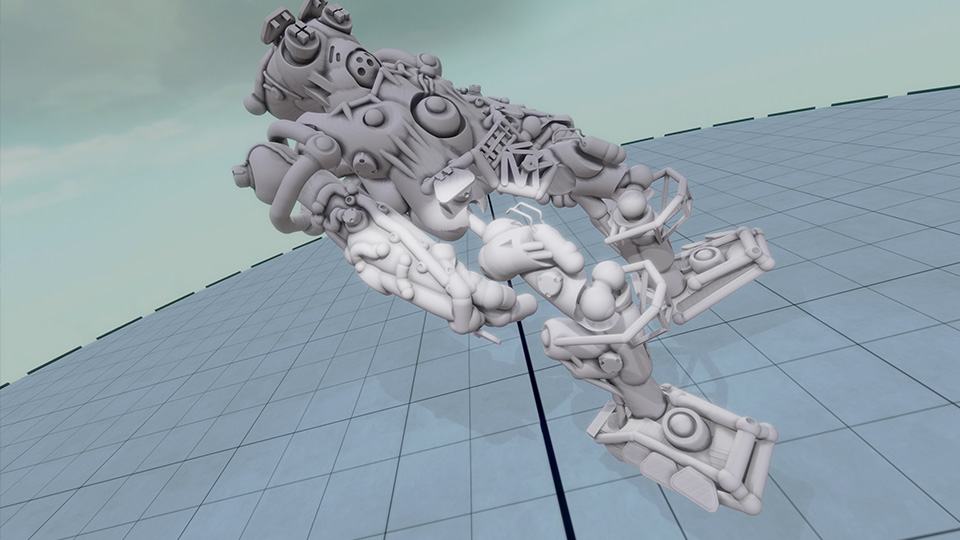
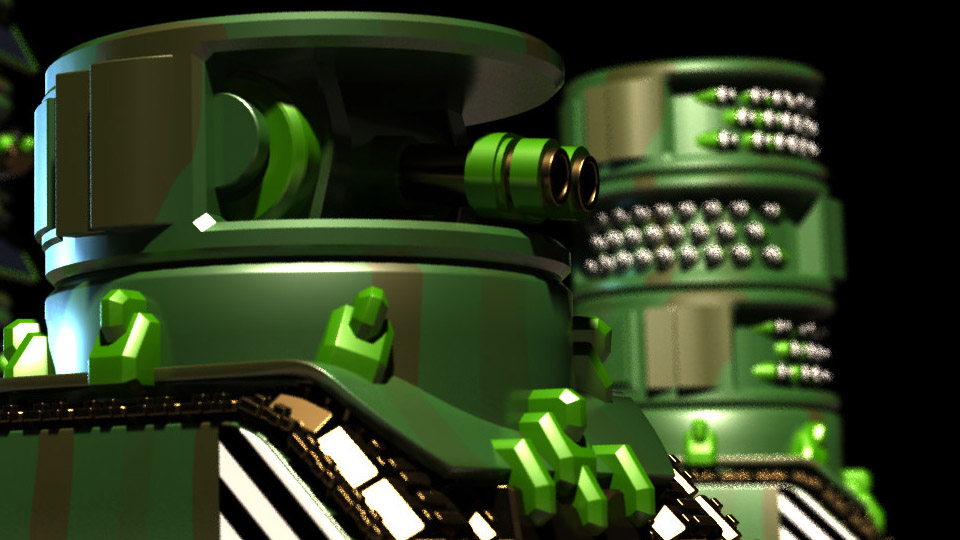
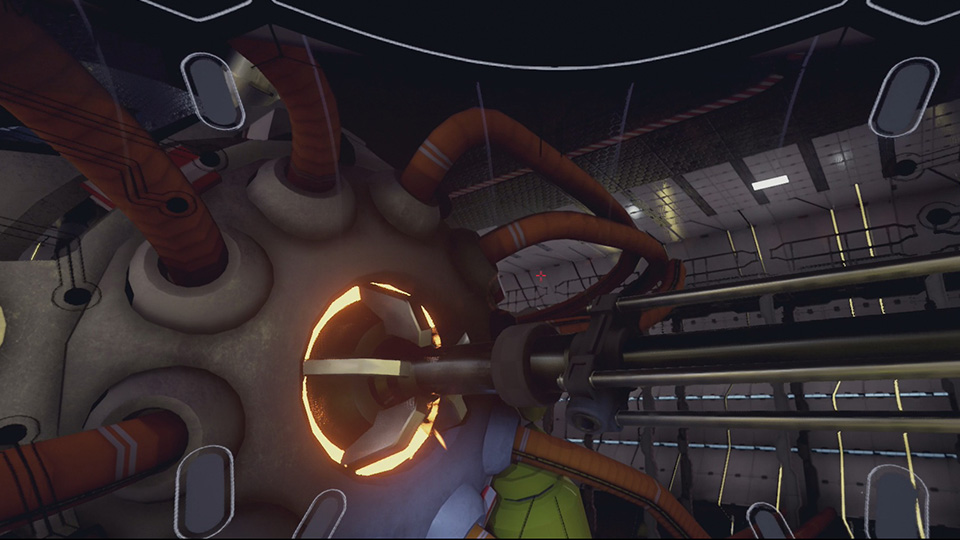 The scale of huge objects is certainly communicated effectively in Virtual Reality
The team did a great job with this and we learnt a lot about developing in VR and how to get the most out of it using Unreal Engine.
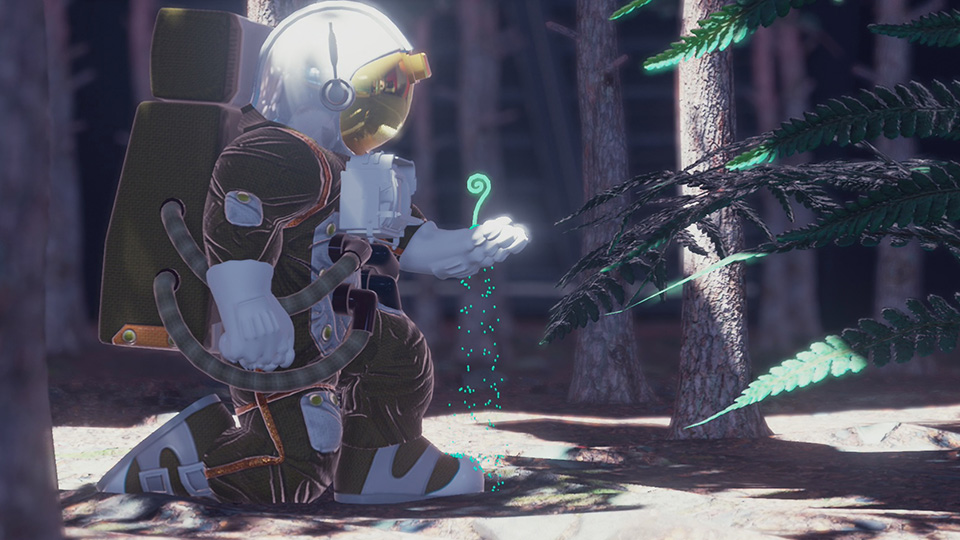
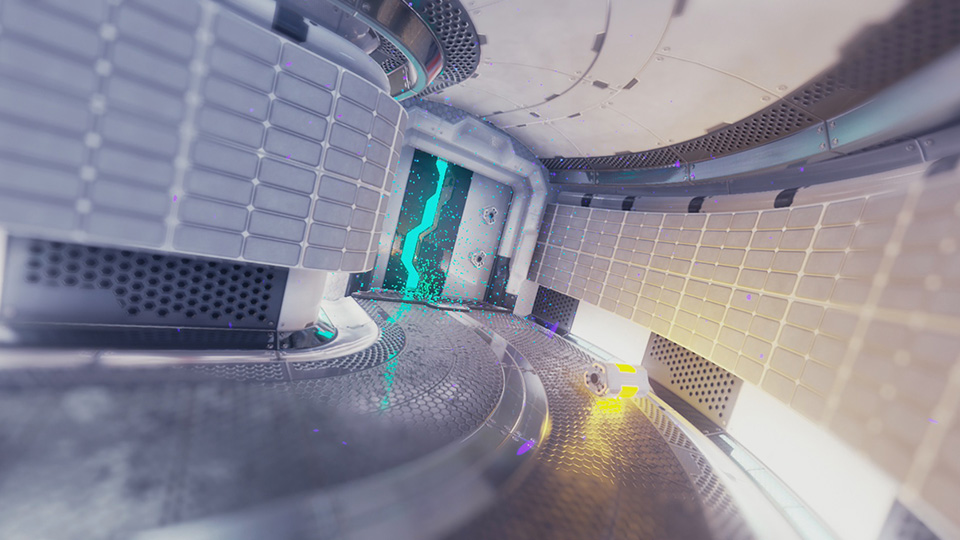 There's plenty to explore
On The Metal is Steve Oldacre, Alex Richards, Robert Cauldwell, Richard Griffin, Liam O'Mahoney, Sasha Mihailova, Dave Moore
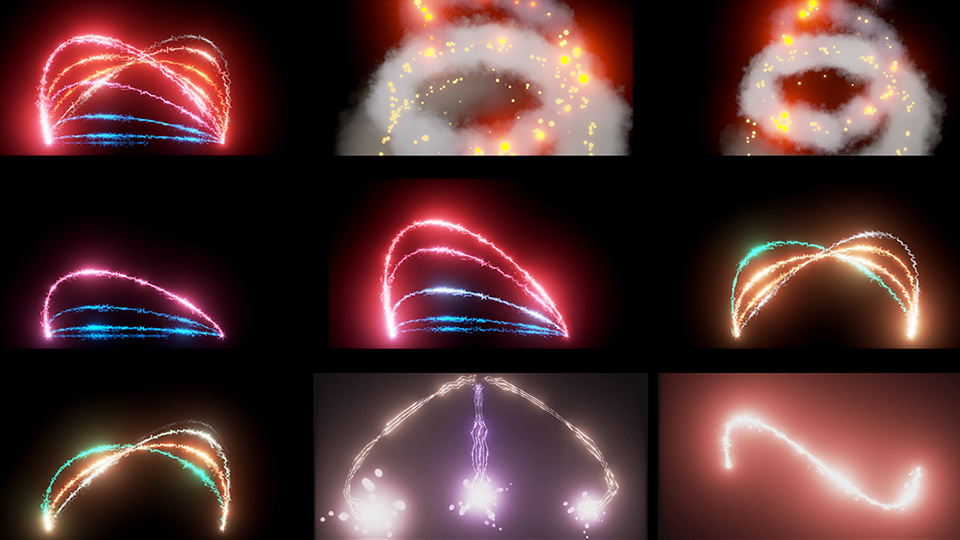
Unreal Engine FX
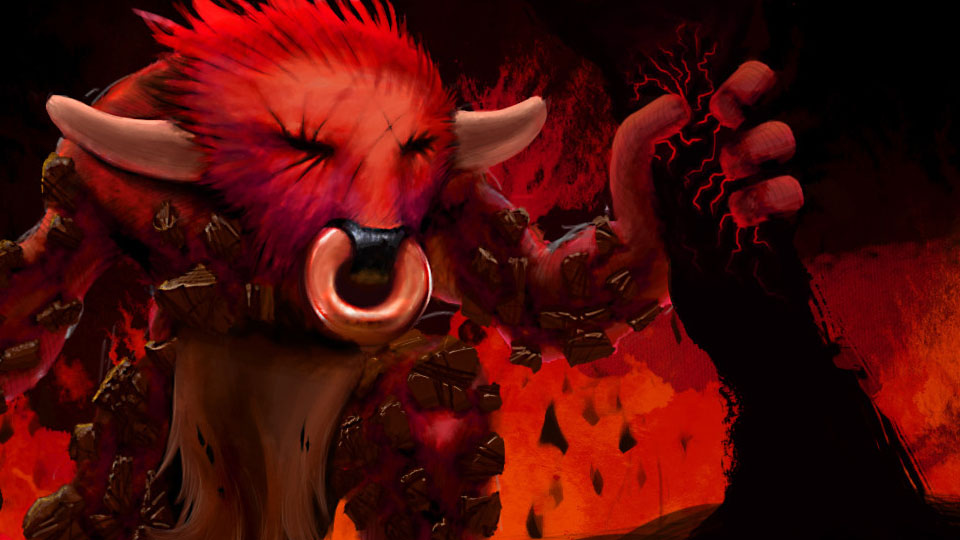
A set of 29 visual effects generated for various projects using the "Cascade" particle system in Unreal Engine 4.14. The monster at the start is from the free Infinity Blade content pack.
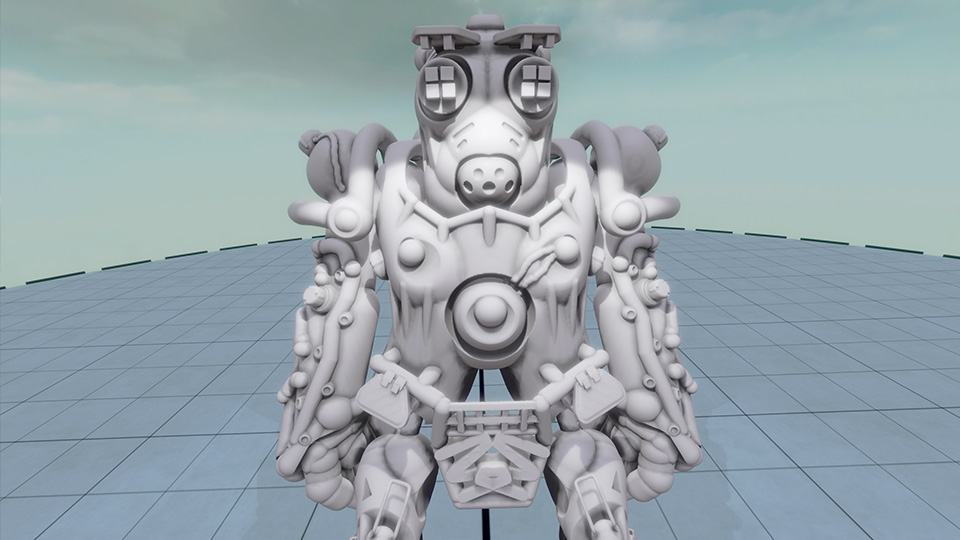
Oculus Medium
Had a crack at the VR sculpting package called Medium on the Oculus Rift. Was a lot of fun! Took some getting used to how 'free-form' the sculpting is - it's like using shaving foam - but the toolset is well thought out so it becomes a breeze. I sculpted this one from my head and seemed to be channeling a Fallout vibe. Took a few hours, with some breaks along the way.
 Adding details
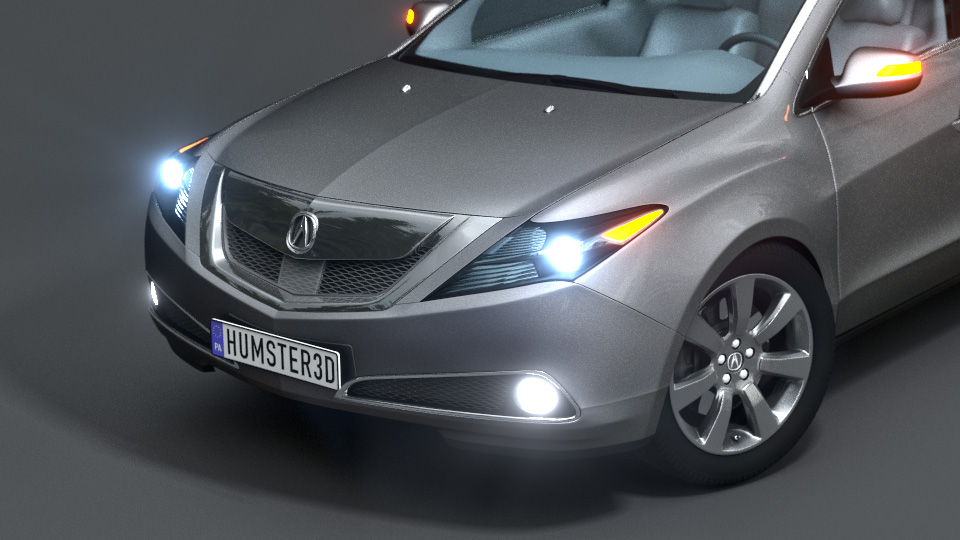
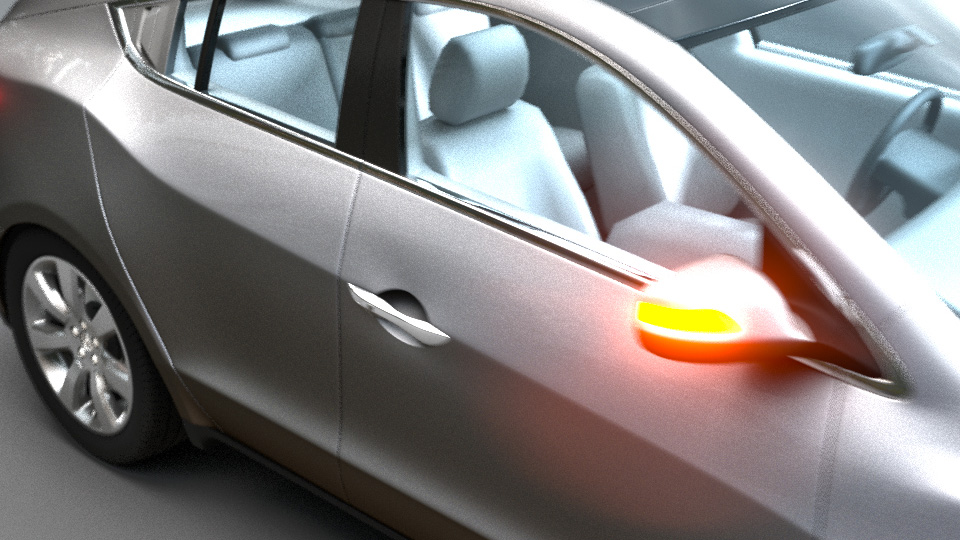
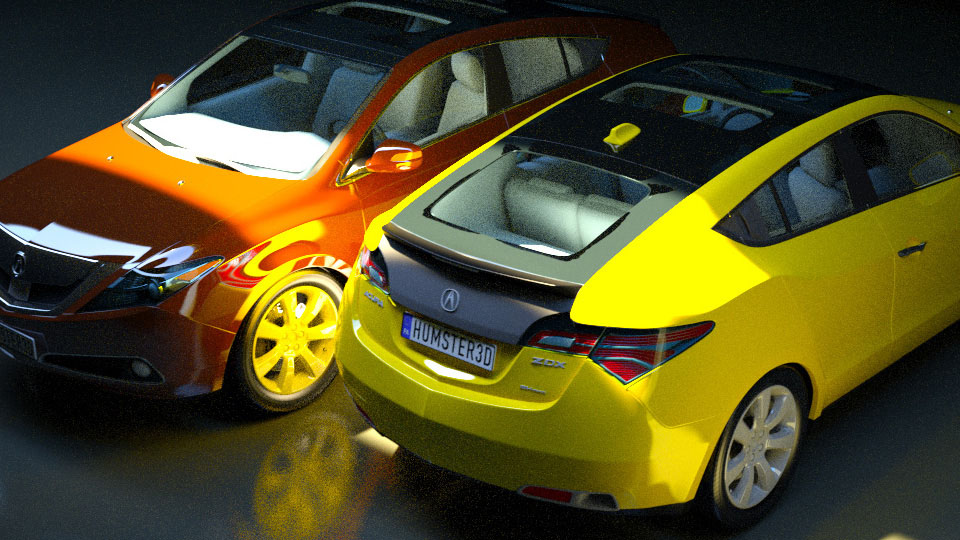
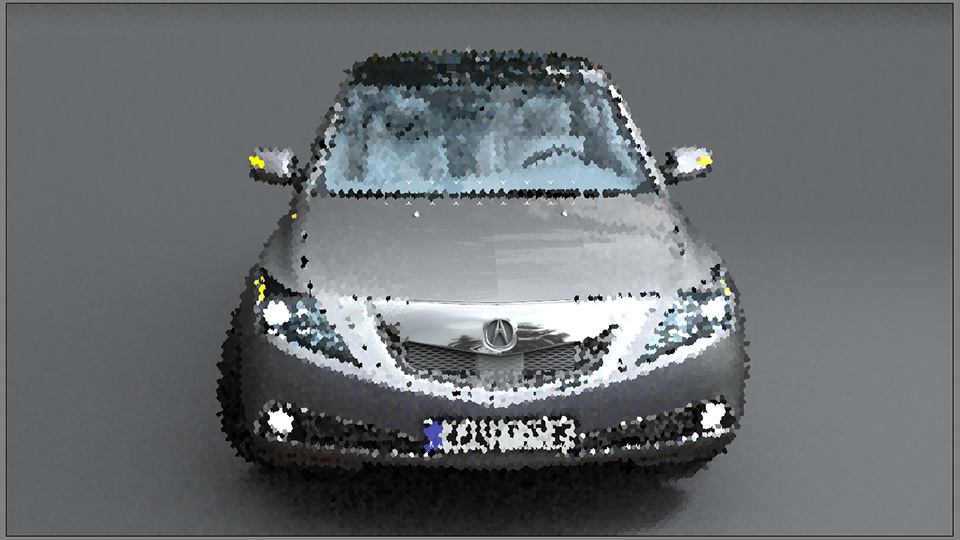
HDRI rendering
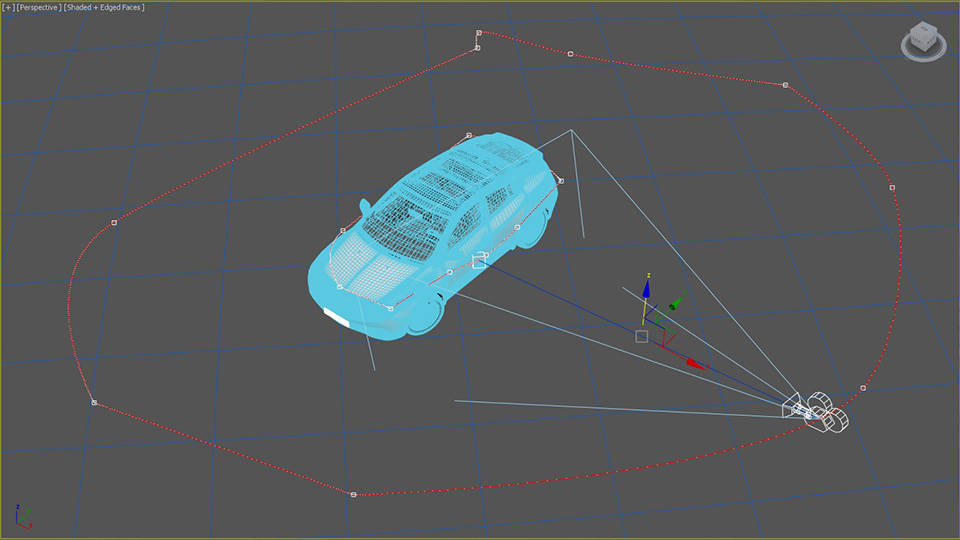
Using a free 3D model from www.Hum3D.com I set up this 800 frame sequence in 3ds Max to check out some render and shader settings.
Nvidia Mental Ray was used as the renderer for this project as I know my way around it and I get great results. I'm do planning a similar Vray test at some point soon as I realise that's a popular choice.
Materials used are a mixture of some from the Autodesk library, the Arch & Design materials along with some custom shader setup to achieve the look for the vehicle.
Glowing light elements were achieved using the Self Illumination settings in each Arch & Design material. Although I've now discovered that using the 'Illuminates the Scene (when using Final Gather)' option creates some random flickering around these elements. A shame to see, but good to now know about.
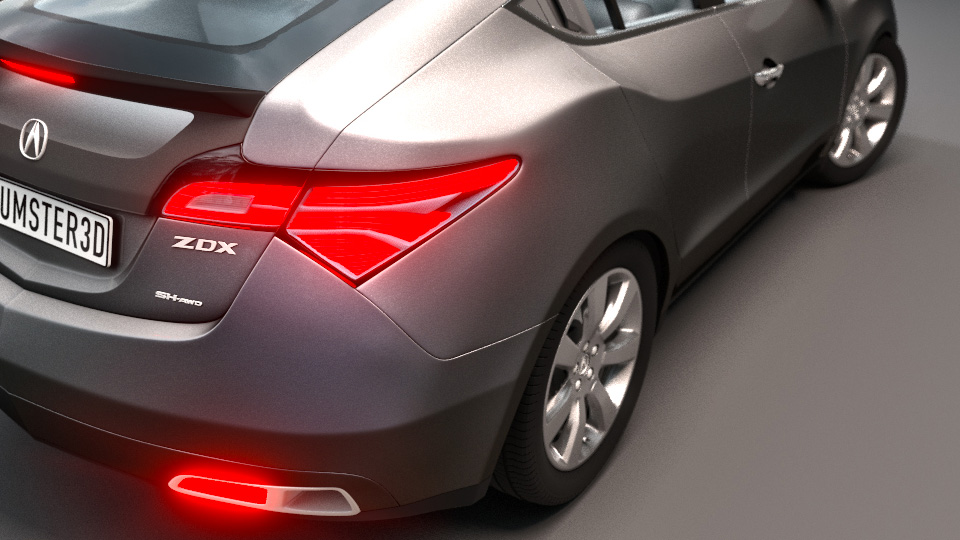
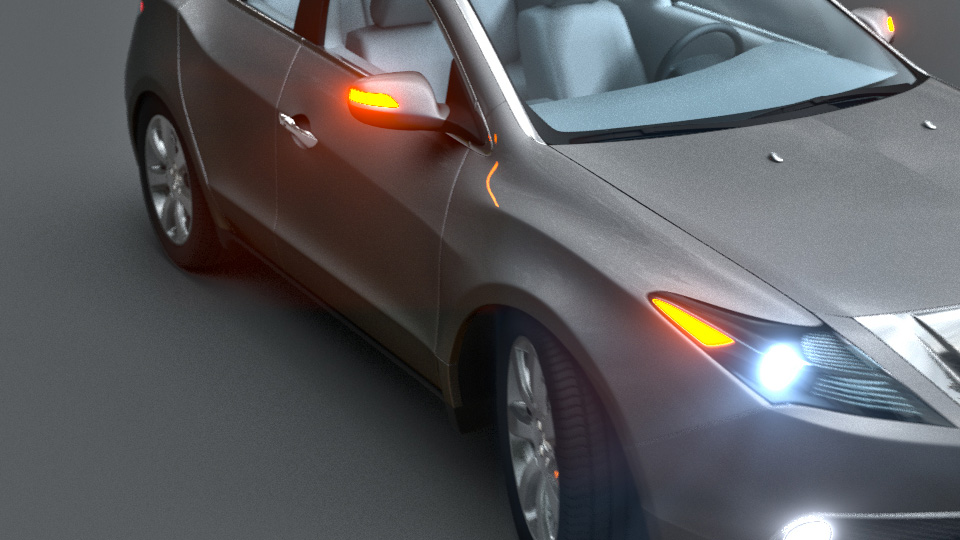
Lighting was provided by a skylight and some key point lights along with a HDR backplate help with the reflections.
Final Gather was used quite generously to give some more depth and colour bounce / bleed although the general quality was kept fairly low to reduce pressure on render time.
Glare was used for the bloom effect on the lights along with a custom Streaks map to define the bloom slightly.
Motion blur, although increasing render time, does add so much realism when things are in motion so it had to join the party. Again, settings kept fairly low for better render time.
Depth of field (Mental Ray) camera effect was used pretty subtly for some extra volume to the scene - If you use too much, the car can look like a small toy. Again, it increases render time, but I wanted the polish it provides.
A key consideration when using the depth of field is where the camera target is. It's used as the focal point of the DOF so anything in front of or behind starts to drop out of focus. So the camera target had to be carefully animated around the vehicle to where the in-focus section should be.
1080p was the target output but after some test renders and some calculations I decided it was going to take far too long to finish so I opted for 720p instead.
 Render in progress
Sampling quality was 1.0 and although I prefer the Lanczos filter for stills, I chose Box to reduce flicker on this animation.
Each frame took between 16 and 44 minutes to render depending on the camera view. Using two i7 Windows 10 machines the sequence started 09/02/17 and completed 17/02/17.
8 days in total uptime for the job. Although the PCs were sometimes used during the day dropping off the job and reconnecting in the evening to continue.
Backburner is great to use for jobs like this as PCs can join and leave the job at any point meaning computers are not exclusively tied up for long periods rendering.
The frames were saved in 32bit Full Float format as Open EXR which I find preferable to the .HDR format.
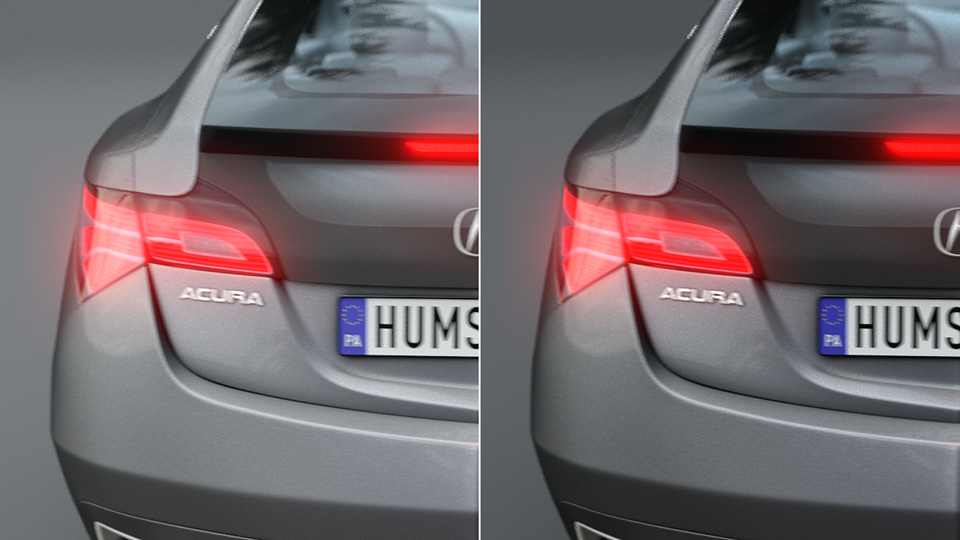 Raw rendered frame (left) and after a gamma adjust (right)
Each frame was a single pass 'final frame' render and there was no post production or compositing at all.
All the frames were then loaded into the RAM player in 3ds Max as two separate blocks and be saved out as .AVI joined in Virtual Dub and then converted to .MP4 in Hand Brake.
If you have any questions, or have a model that you would like to be professionally presented please don't hesitate to get in touch.
Alex
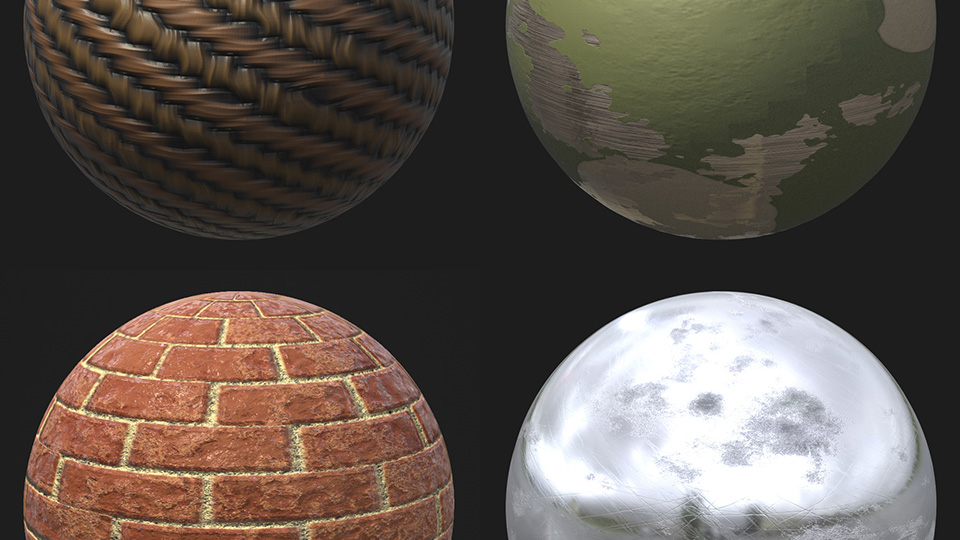
Substance Designer
A few samples I have put together using the great Substance Designer toolkit. I found it easy to pick up after being used to the Slate editor in 3ds Max and the procedural materials.
There's definitely more I can do with these and I'm looking forward to posting up some more samples soon.
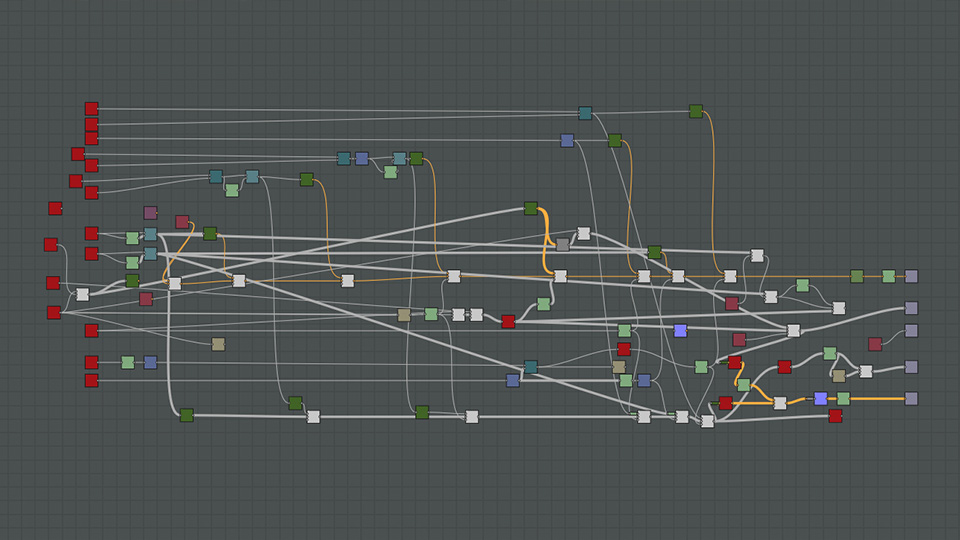 Substance Graph
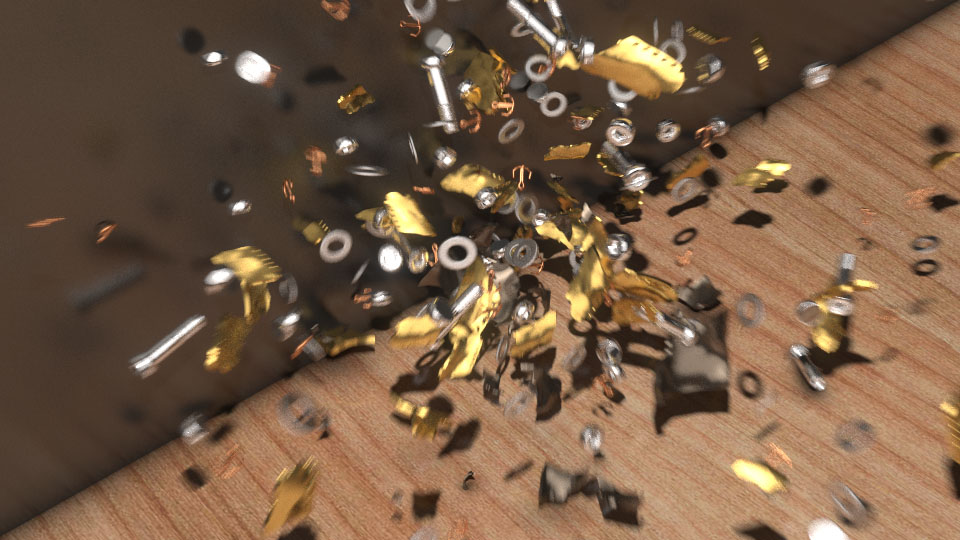
Pflow Shrapnel
Pflow render test of mesh elements added to a Pflow system. A fairly decent result although I could make the fragment collision and motion more accurate with some modifications.
I used Deflectors for the floor and wall. Arch & Design Shaders were used for all materials, rendered in Mental ray.
Each frame was roughly 45 minutes render time @ 720p. Motion blur and Glare options were both used.
Total animation render time was 75 hours on a single i7 machine. Frames were rendered to TGA format and compiled to uncompressed AVI using the RAM player in 3ds Max before uploading here.
Comments and questions welcome.
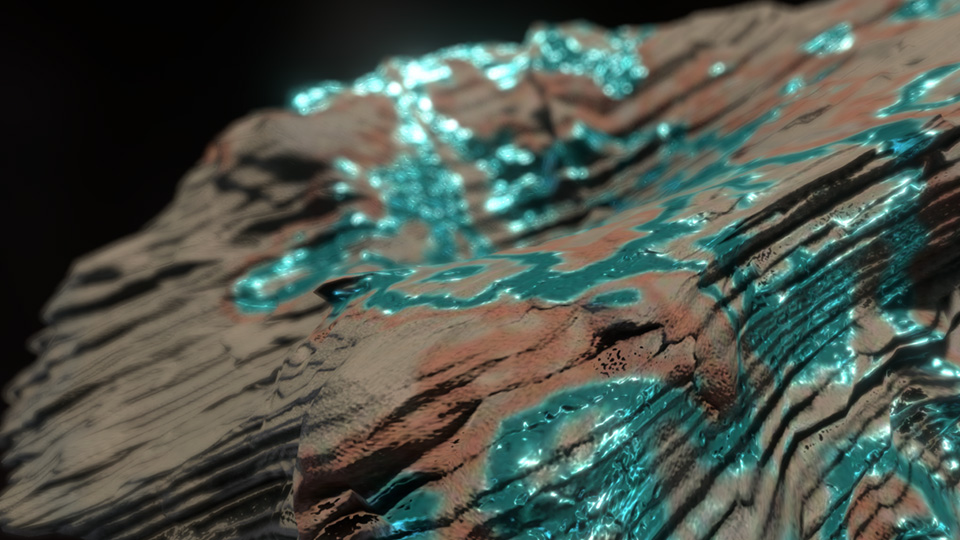
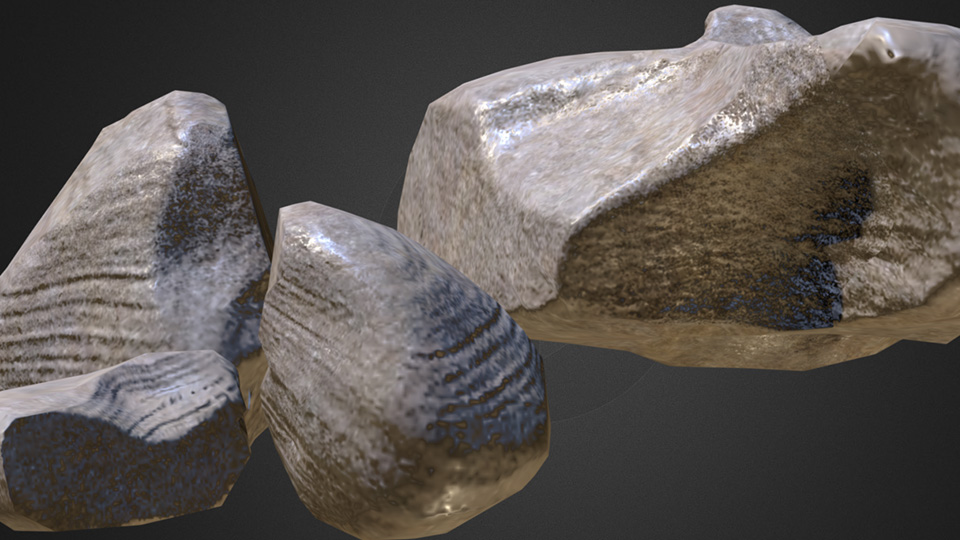
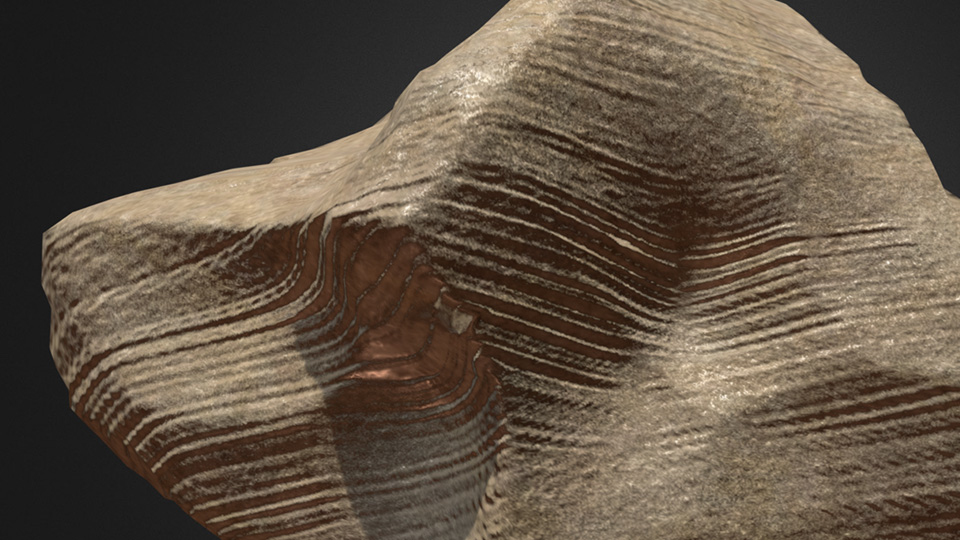
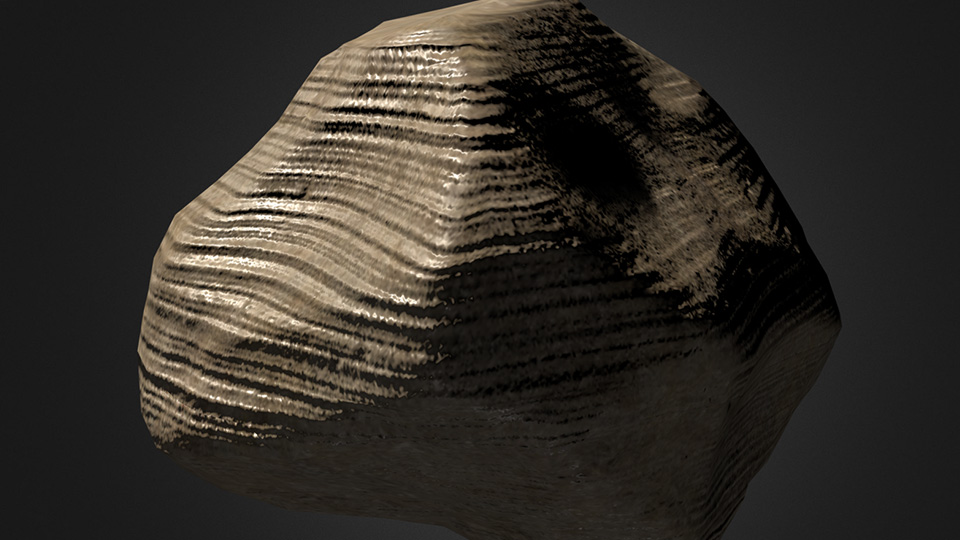
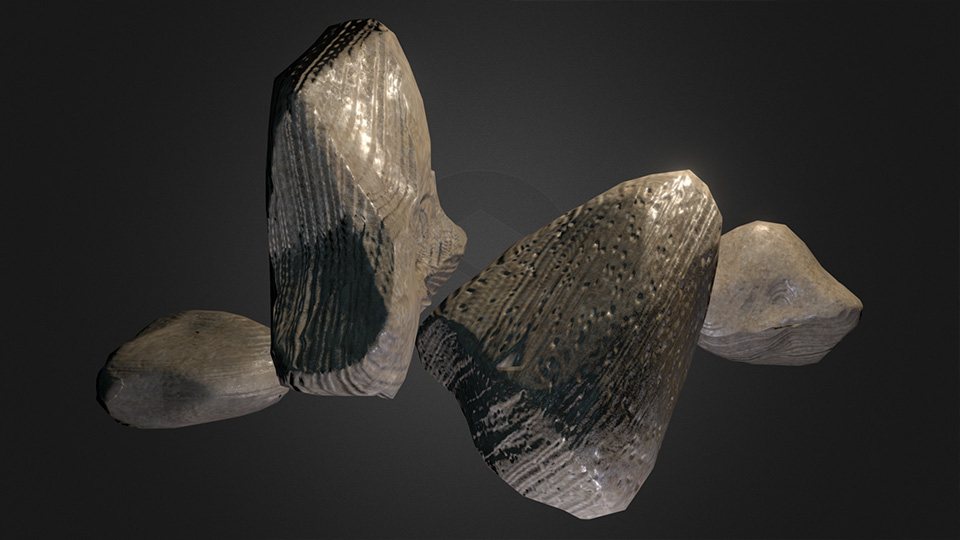
Sedimentary Rocks
High poly procedural rocks baked down to game resolution assets.
These assets were modelled in 3ds Max using Displace modifiers and procedural materials. Then they where baked out using Render to Texture. The assets were loaded up in Sketchfab using the PBR shader for the screenshots.
Click on the links to see the rocks in 3D where you can rotate and zoom around the meshes.
Check out my Artstation post for more images and hit LIKE if you're in the mood! :)
 Baking in 3ds Max
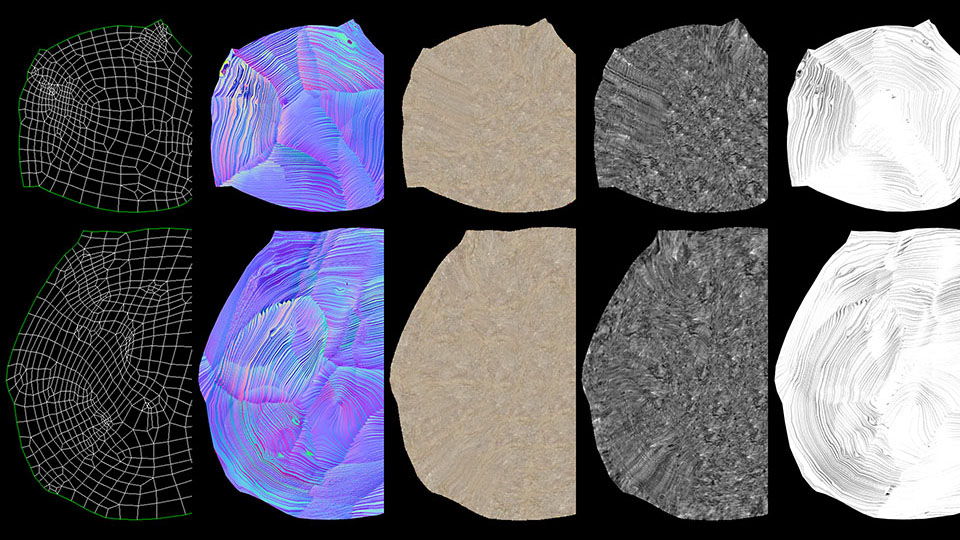 Baked maps
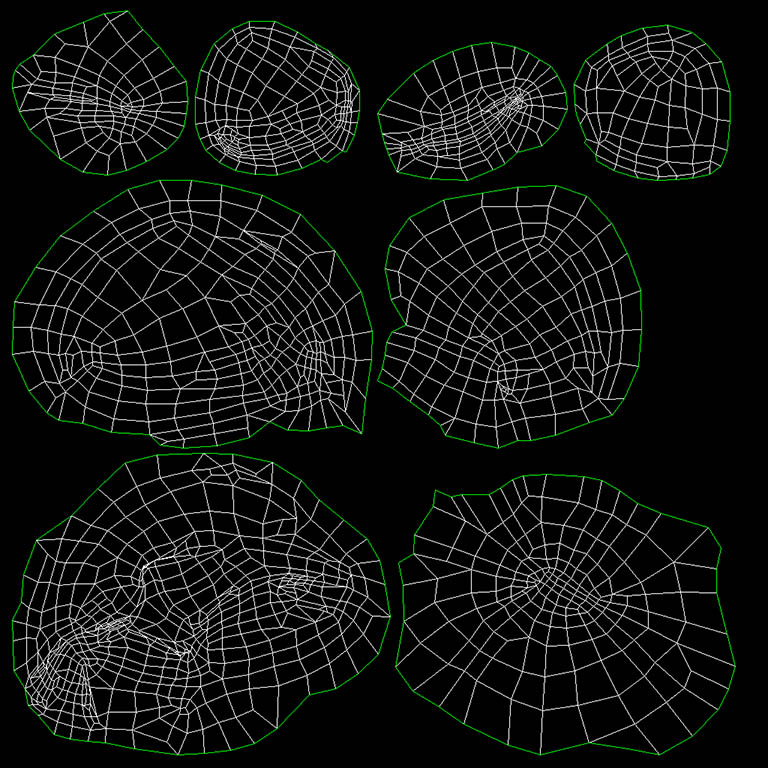 Unwrapped low poly meshes
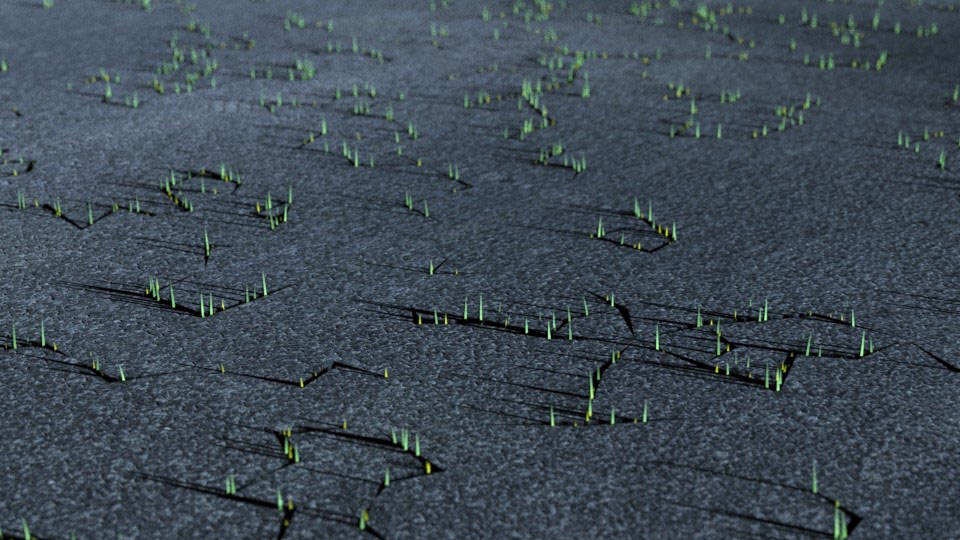
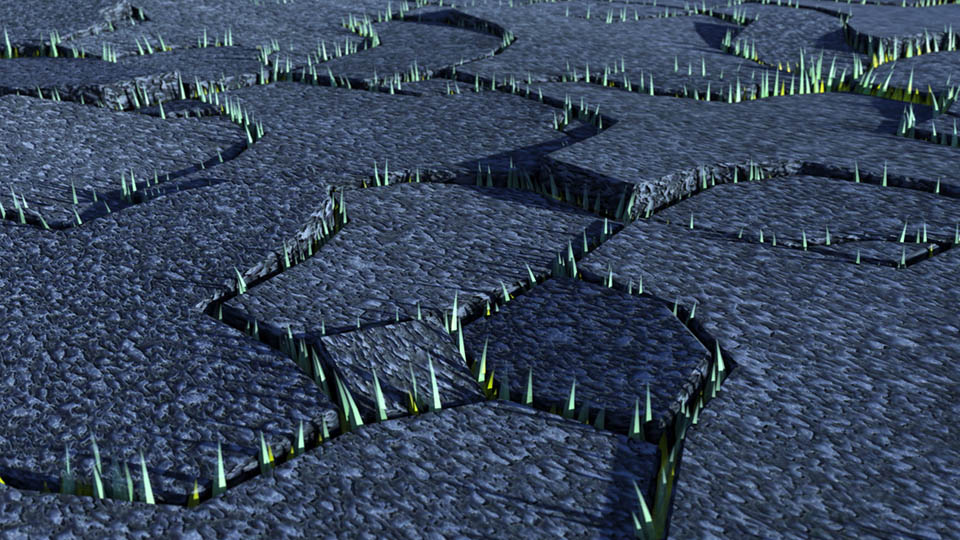
Cracked Tarmac
Discovered an old process for making cracked tarmac with grass growing through.
1) Create a plane with subdivisions and convert to edit poly. Or use an existing road mesh. But ensure it has some subdivisions.
2) Open the Graphite Panel and Under Modelling, open the Generate Topology panel.
3) Select Chaos.
4) Select the edges and chamfer to the rough size you'd like your cracks to be.
5) Immediately ctrl-I to invert the edge selection and then ctrl select polygon mode to select only the cracks - then change the polygon id to 2. (not compulsory, but a quick way of selecting the cracks later)
6) Then select all verts and tweak the weld threshold to weld some cracks up, but leave others open. This will give you more natural cracks instead of uniform gaps.
7) Enter polygon mode and select polygon id 2 and extrude down to make your cracks.
8) Then detach the polygons at the bottom of the cracks.
9) Use the detached mesh as the base mesh of a Hair and Fur system so you can grow grass from the cracks.
10) You may have to fix any messy tessellation errors by hand. The big n-gons are prone to errors. A subdivide modifier is a quick way to fix this, but will add more triangles than needed.
11) In addition, selecting both the grass object and the cracked road and adding a Push modifier you can open / close the cracks slightly as required.
The second render was another version I tried. Instead of just cracks, I detached all the elements after generating the topology. Then I rotated each block in Element mode to give a more broken up road surface. I was careful to only rotate them in x & y so the grass mesh was still aligned to the cracks for the grass to grow through.
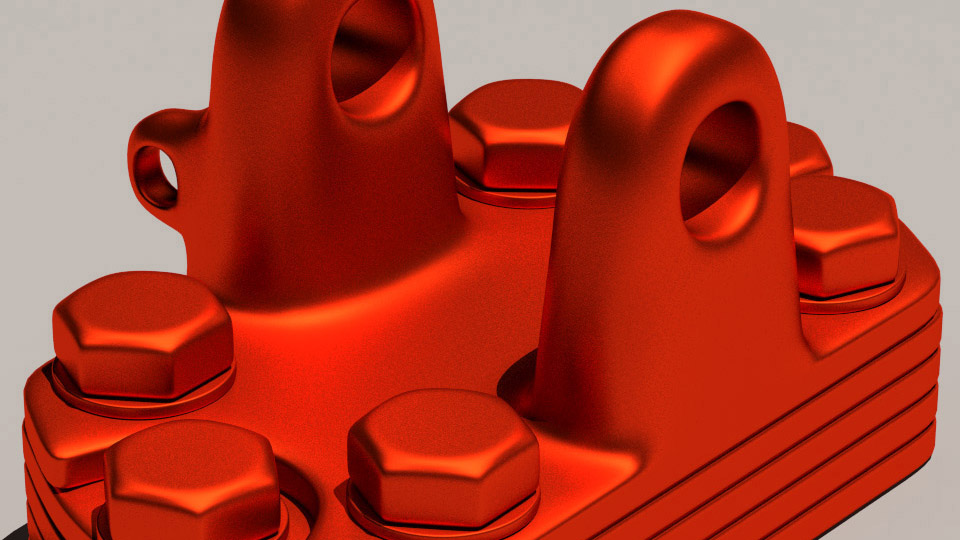
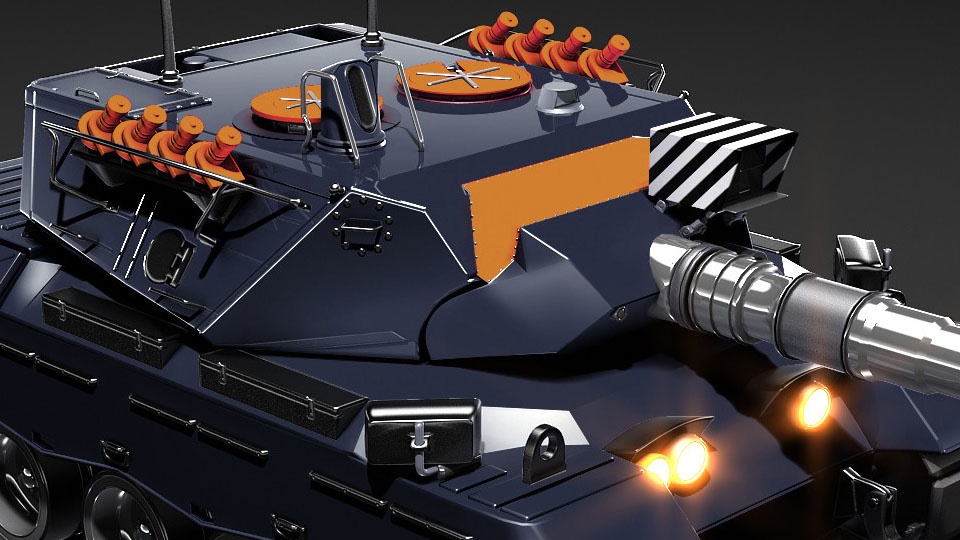
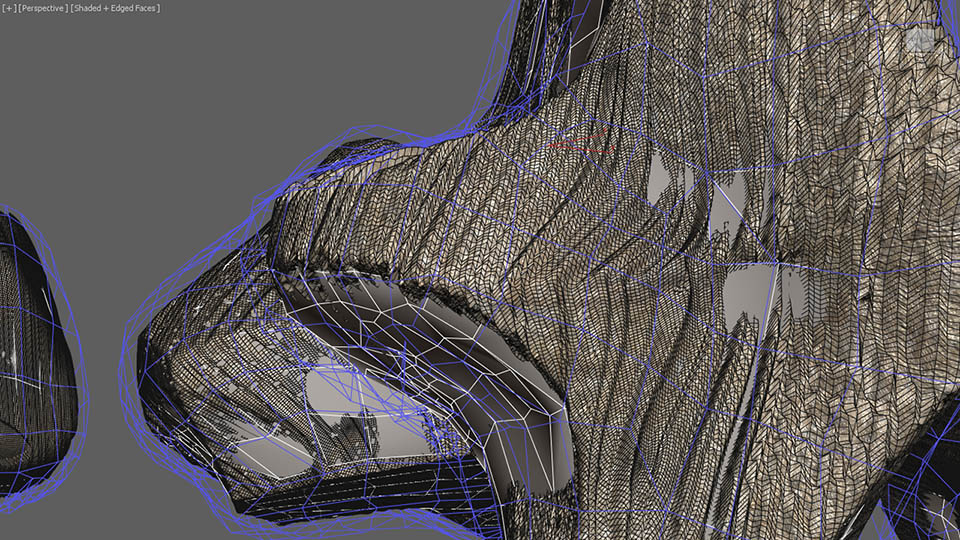
Hardsurface
A part created for the Leopard tank project. Showing some subdivision breakdown.
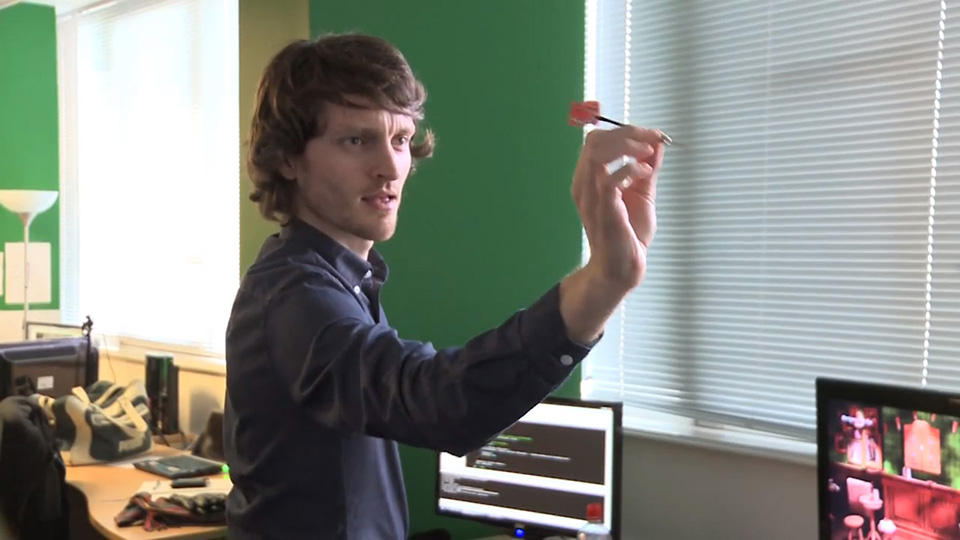
Top Darts Interview
Filmed by SCEE and featured on the PSN store for the release of Top Darts PS3, this is a brief but interesting insight into the team behind the game.
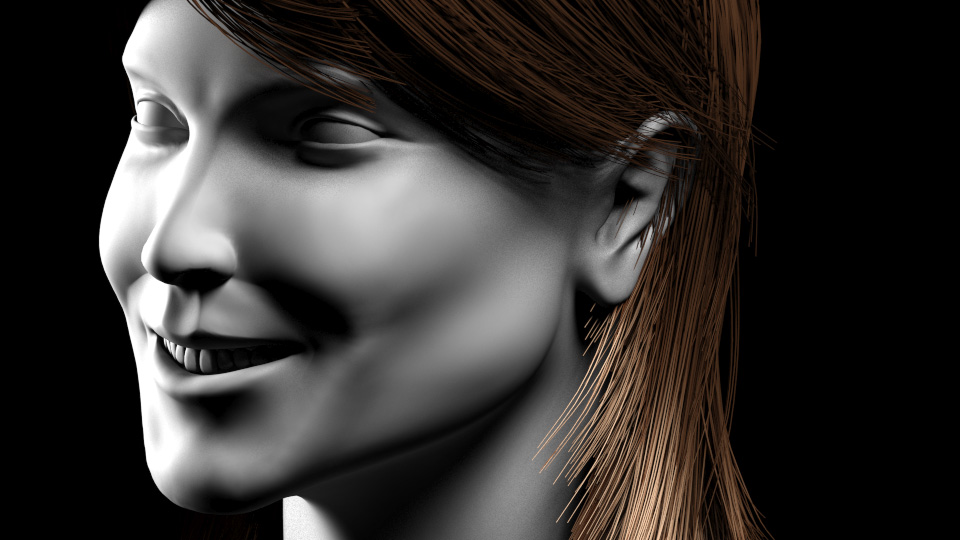
Female WIP
Some progress with a character I've been working on. Plenty to do, but pleased so far. Base mesh created in 3ds Max 2015, sculpted in Mudbox, then rendered with the hair in 3ds Max using Mental Ray.
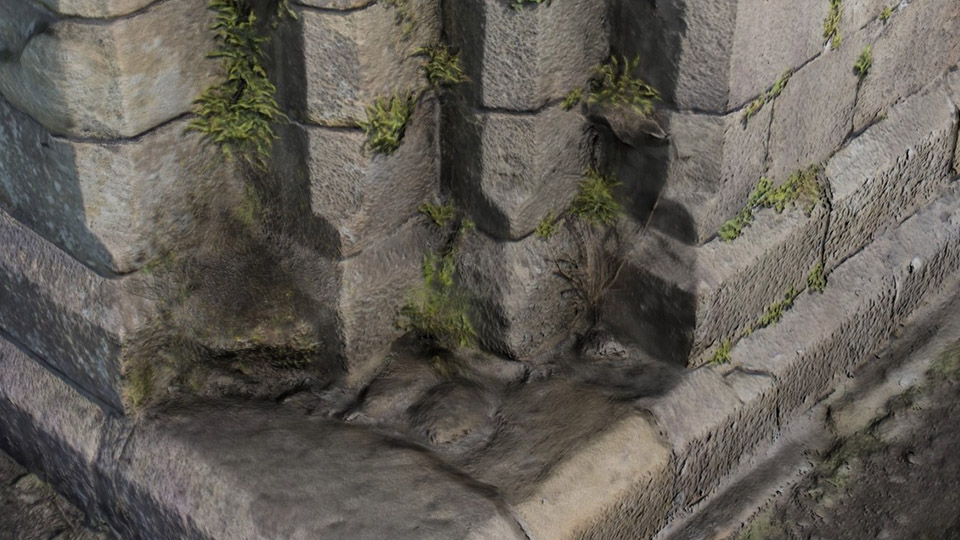
Photogrammetry
Photogrammetry test of an ruined abbey pillar. (Sawley Abbey, Lancashire)
Download for free on my Sketchfab page
60 HDR shots from a Canon EOS-M > Converted to 8bit jpeg in Photoshop > Processed by 123DCatch > Cleaned in 3ds Max > Retopologised in Mudbox > Unwrapped & baked in 3ds Max
I decided to use the 2nd level of decimation at 14k polygons.
Scan location : https://goo.gl/maps/5Zti1ARLoY52
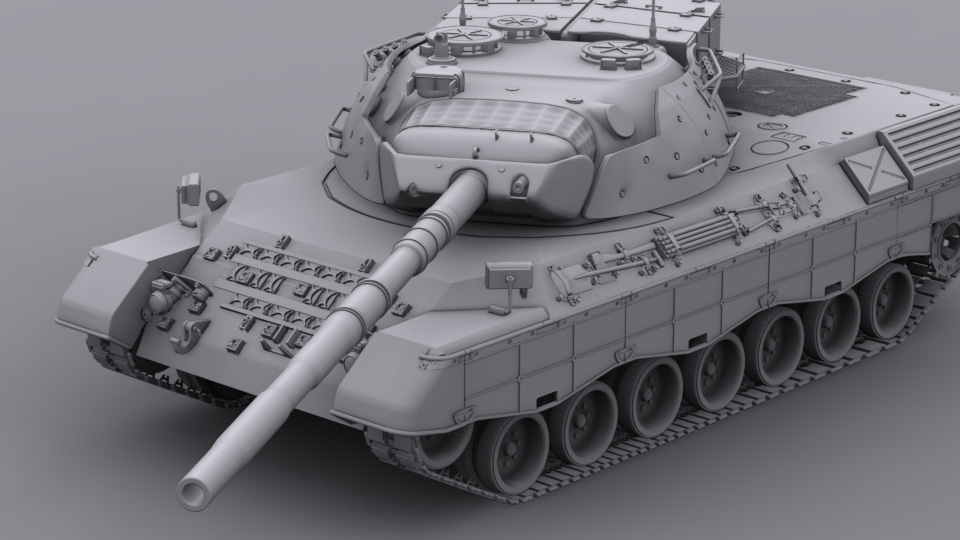
Leopard Tank
Some viewport grabs from 3ds Max of a high poly project. Still plenty of modelling to do and then an unwrap and materials pass. Feedback welcome!
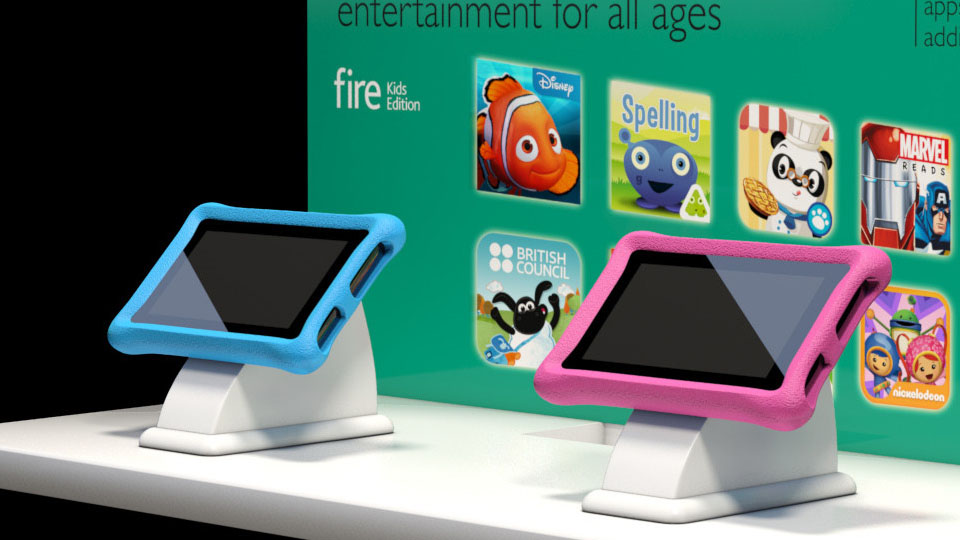
Amazon™ Fire 7 Tablet
Presentation mock-up renders of the Kids Amazon tablet for a client. Tablet was modelled from reference photos. All modelling, lighting, materials, renders done in one day.
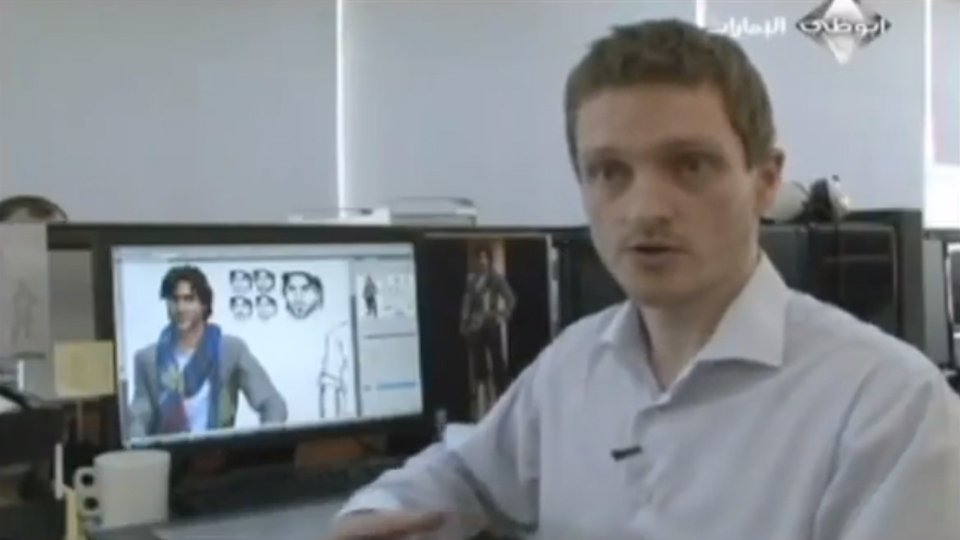
Vertex Studios Interview
A piece on Vertex Studios which aired on Abu Dhabi Al Emarat's Inside the National program on Tuesday the 28th of July at 7-30pm.
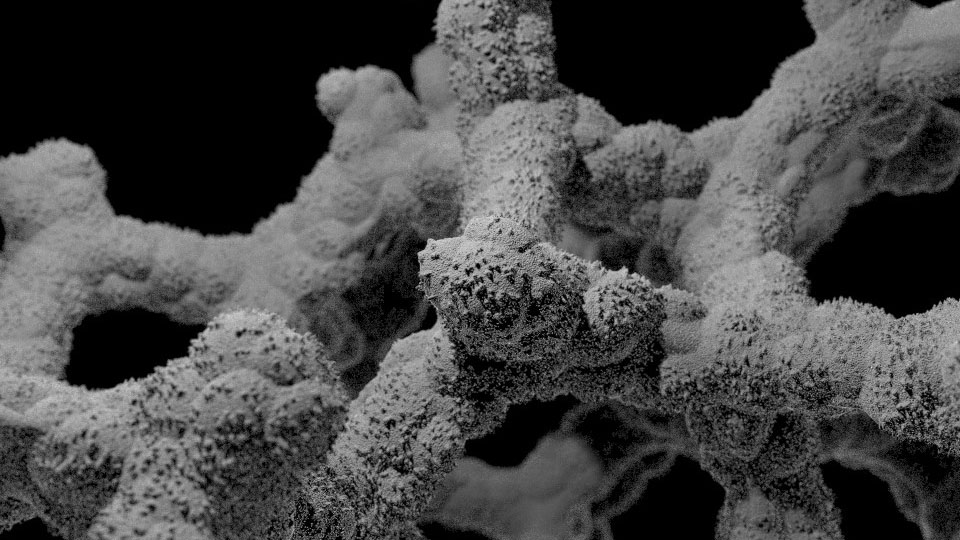
Cell structure
A cell structure modelling exercise answering a question posted on the 3ds Max community forum.
Here's the process taken from the forum post:
I found the most difficult part of this was creating a tessellating hexagonal pattern in three dimensions. I ended up using a 'bitruncated cubic pattern using a truncated octahedron' (according to wikipedia).
The method I used starts by creating the negative space of the foam structure as solids. Then flipping the normals and welding together the remaining edges to create the branches. Creating the base shape and cloning it accurately is important - it means you can weld the holes together in one go. Otherwise it would be very fiddly!
1) To create the octahedron: make a sphere primitive, setting radius to 20 units and segments to 4. Uncheck smooth. Collapse to edit poly and chamfer all verts by 10.
2) Bevel all faces 'By Polygon' and set height to 2 and outline to -1 then delete the extruded faces.
3) Duplicate this object in x and y twice, setting offset to 30 units. This will give you a 3x3 pattern. I used Array as it will remember the values for when you use it again in step 5.
4) Duplicate the original again, moving it to 15, 15, 15. Scale down this octahedron to 97%. (This layer doesn't tessellate perfectly for some reason, probably because of some inaccuracy in the base form). Reset Xform on that object and collapse to edit poly.
5) Duplicate this object in x and y twice, setting offsets again to 30 units (exactly the same as step 3).
6) Collapse all objects together. Duplicate this twice in Z, each 30 unit apart to give you a 3x3x3 form made from 27 octahedrons. Attach them all together in edit poly.
7) Enter Border mode in Edit Poly, Ctrl-A to select all border and then Ctrl-Select the Vertex mode button. Open the Weld caddy and set threshold to 1.4 units. This should stitch up all the adjoining holes to make the branches.
8) Flip the normals in Polygon mode. Edit object properties and check 'Backface cull'. This is your base branch structure done.
9) Add a Meshsmooth modifier and set to Classic mode and one iteration. Use the strength and relax options to adjust how hexagonal / circular you want the branch pattern to be. Then add a turbosmooth to subdivide some more. Easier to see the Meshsmooth changes after the turbosmooth is added. You can also use a Push modifier above the Edit Poly to make the branches thinner if required.
Finished!
This generates a very uniform pattern. If you want a more organic look, add a Noise modifier above the Edit Poly in the stack. Set Scale to 50 and x,y,z to 20 or whatever you prefer. Bear in mind if your scale goes too low or strength too high, the complex branching will start to intersect itself.
If you want a larger pattern, increase the duplicates in steps 3 and 5.
For the render, I trimmed off all the open edges and capped the branches to stumps. Rendered in Mental Ray using the cellular procedural displacement map.
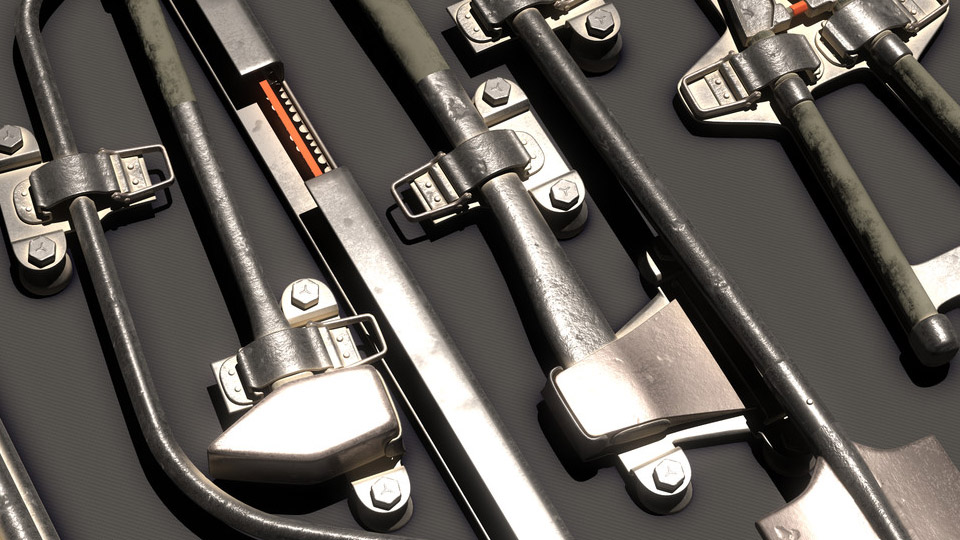
Tools
Some props I've been working on for a personal project. I use a special material chain to get the occlusion and dust.
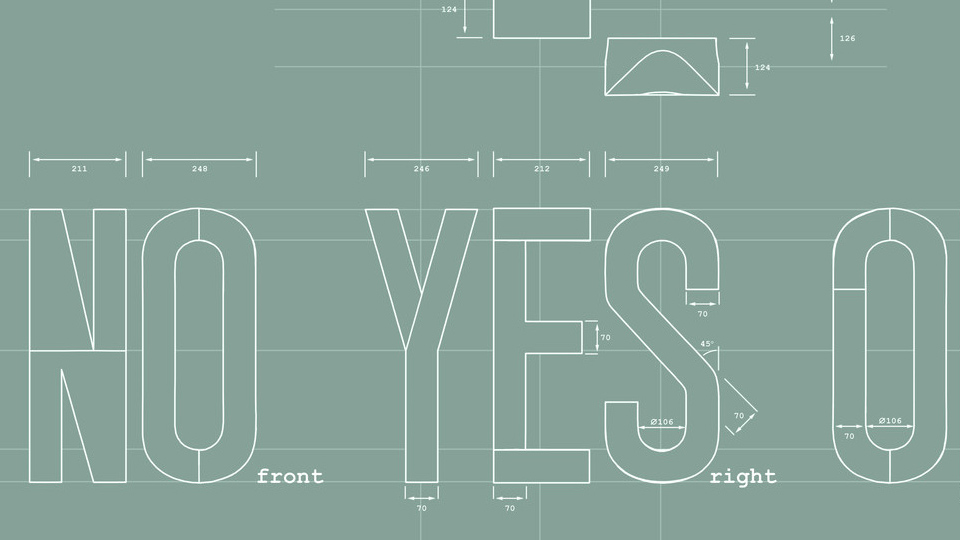
NO YES sculpture
Modelling and blueprints completed for a client. Based upon the awesome Markus Raetz sculpture.
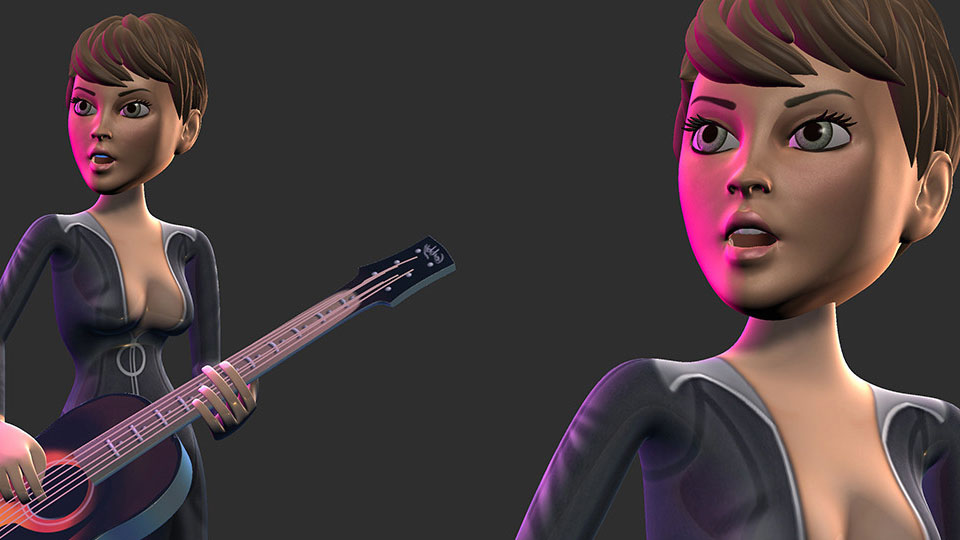
Band characters
Some target images I work on in 2015. Using the great body base mesh made by Rich Griffin and the awesome instruments made by Sim Furness, I sculpted new heads and hair in Mudbox. The images are straight out of Mudbox, presented in Photoshop.
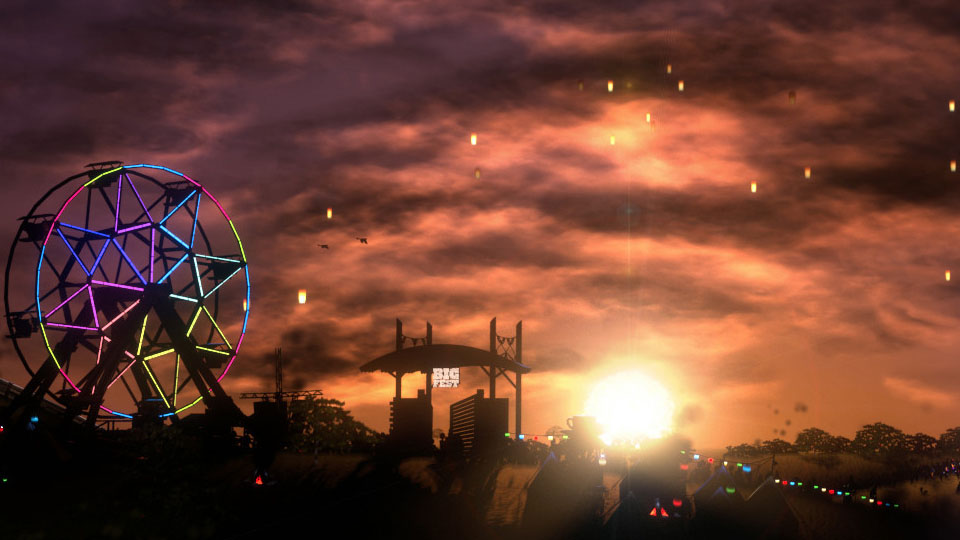
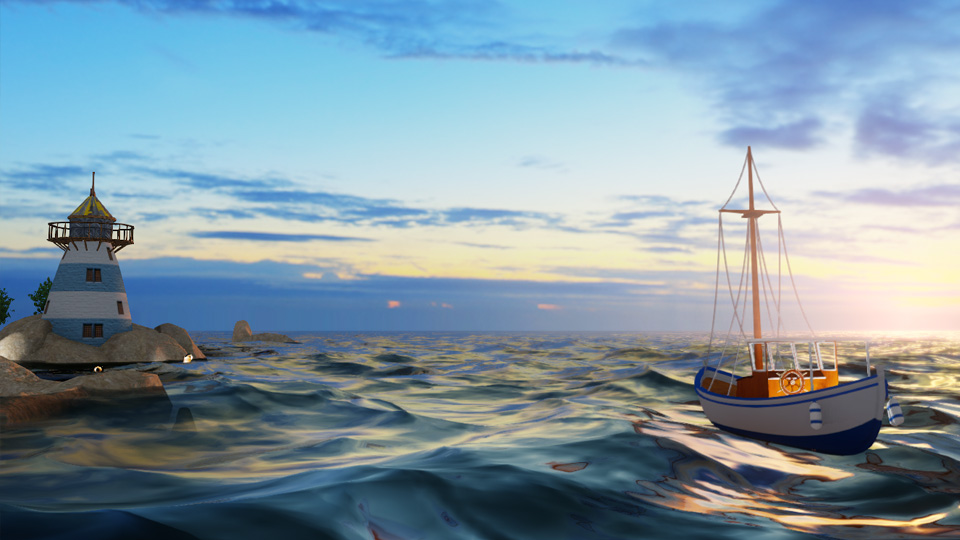
Bigfest™ sunsets
Some sunset renders I did using the game art from Bigfest PSVita released in 2015. A whole bunch of the awesome assets here were made by Rich Griffin and Sim Furness. The images were used for Gamescom and other promotion. These renders were final frame outputs with very little post in Photoshop. I used a blizzard emitter and a falloff material, up-lit with some Mental Ray spots to do the clouds.
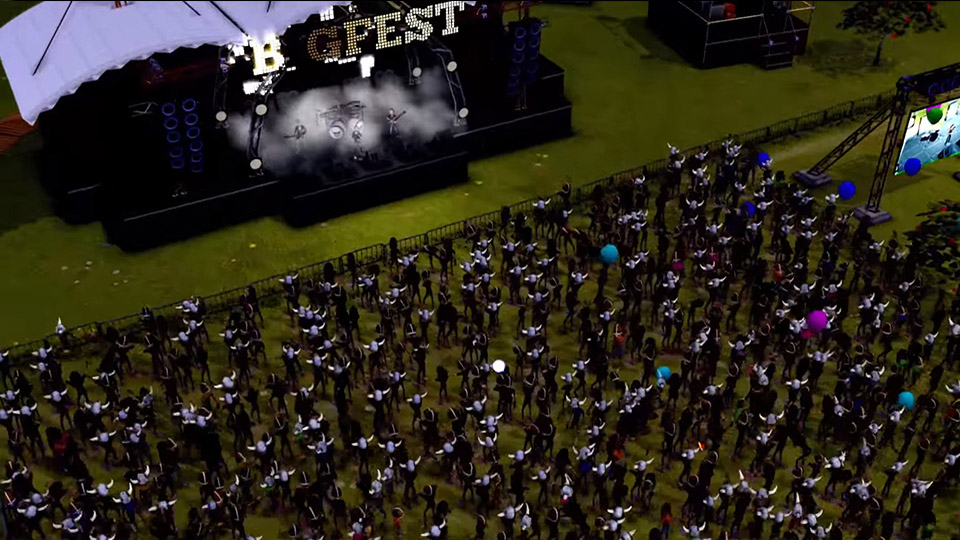
BigFest - Launch Trailer
The launch trailer which we put together after shipping the PSVita game "Bigfest" in 2015.
"Create your own music festivals, putting real unsigned bands up on the stage. You're in charge of everything, from choosing the lights, speakers and facilities to selecting and promoting the acts themselves.
It all begins with a humble gig in a junk-strewn field - but will you one day be putting on multi-act mega festivals?
Can you give your favorite bands a platform to launch their careers into orbit?
�2015 Sony Computer Entertainment Europe. BigFest is a trademark of Sony Computer Entertainment America LLC."
Top Darts PS3™
Environment concepts and assets from Top Darts PS3 released in 2010. The lighting was baked into lightmaps in 3ds Max using a linear HDR workflow. The 'Steampunk' concept unfortunately didn't make it into production. And the daytime 'beach bar' was eventually changed to night time lighting.
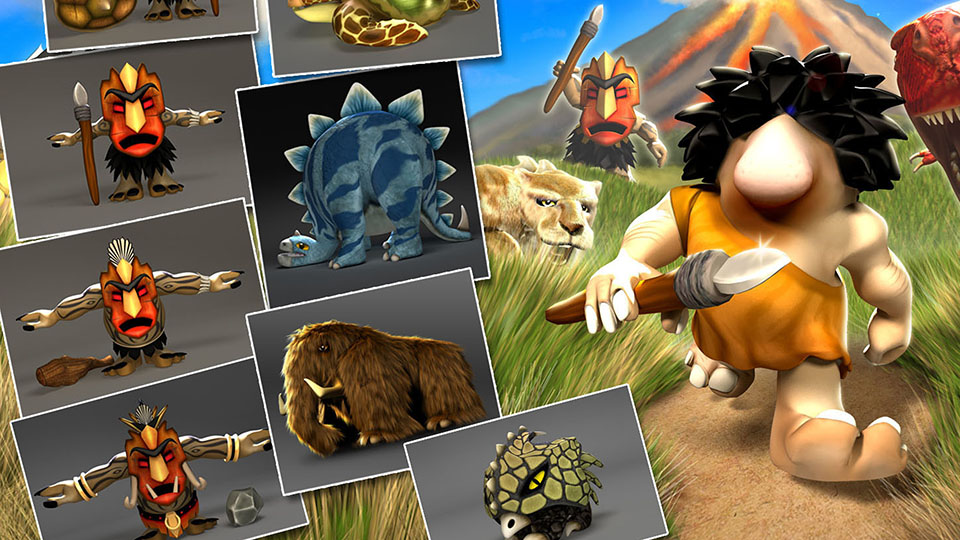
The Humans
Character design and development from "The Humans: Meet the Ancestors!". And also the box art. Released on DS in 2009.
Iray Rendering
Animated sequence testing the Iray renderer in 3dsmax.
- Scene, shaders and lighting prepared in 3dsmax 2014
- Rendered using NVIDIA Iray
- 2000 iterations per frame averaging about 40 minutes per frame. 600 frames total, rendered on using 3 Windows i7 machines via Backburner 2015
- Car models from Humster3D
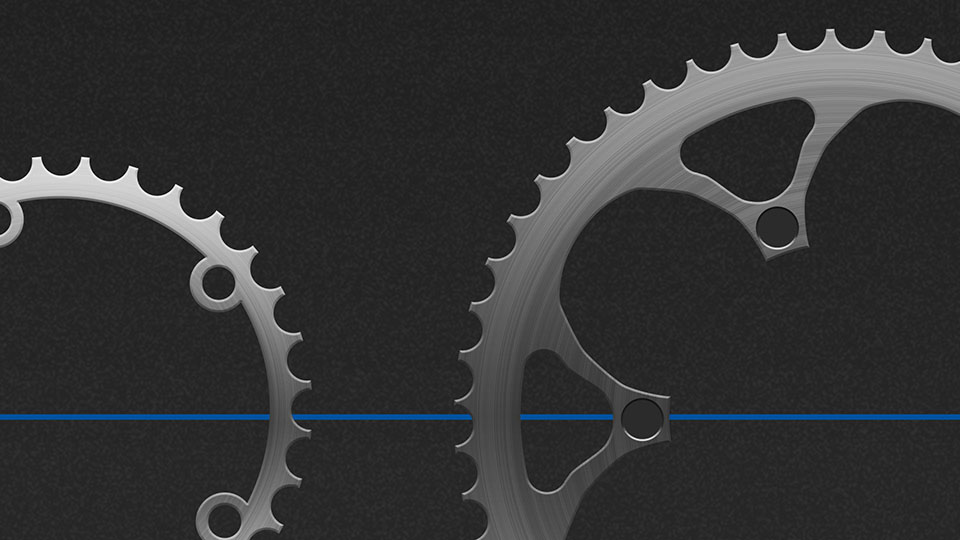
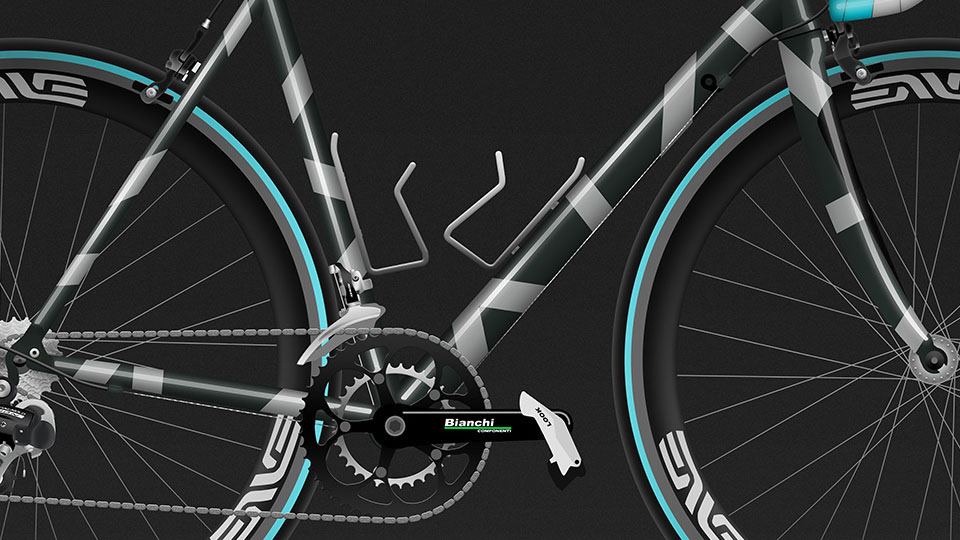
Bianchi™ Exploded View
Exploded views showing the components created for the Bianchi Colourways project. All vectors and layer styles in created in Photoshop.
The Humans - Box Art
Box art concepts and final design created for "The Humans: Meet the Ancestors" PC game released in 2009.
Bianchi™ Colourways
Paint and kit variations on a Bianchi Via Nirone roadbike. Created in Photoshop using vectors and layer styles. Final image resolution 15360 X 8640.
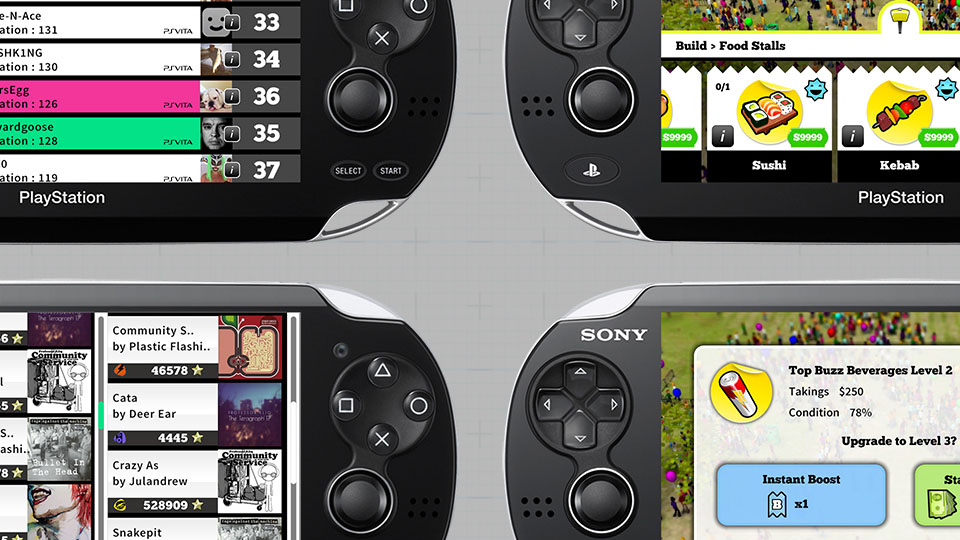
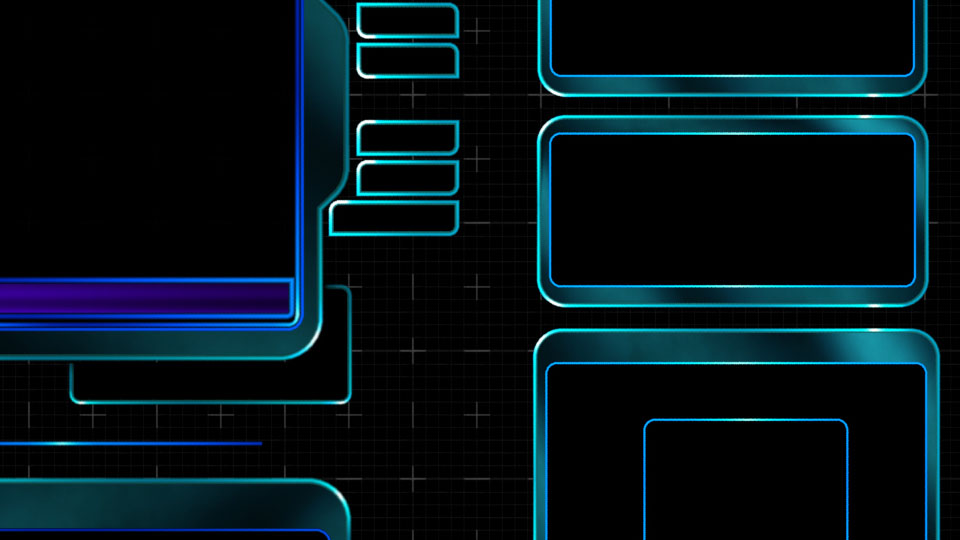
Bigfest™ User Interface
User interface designs for the PS Vita game Bigfest released in 2015.
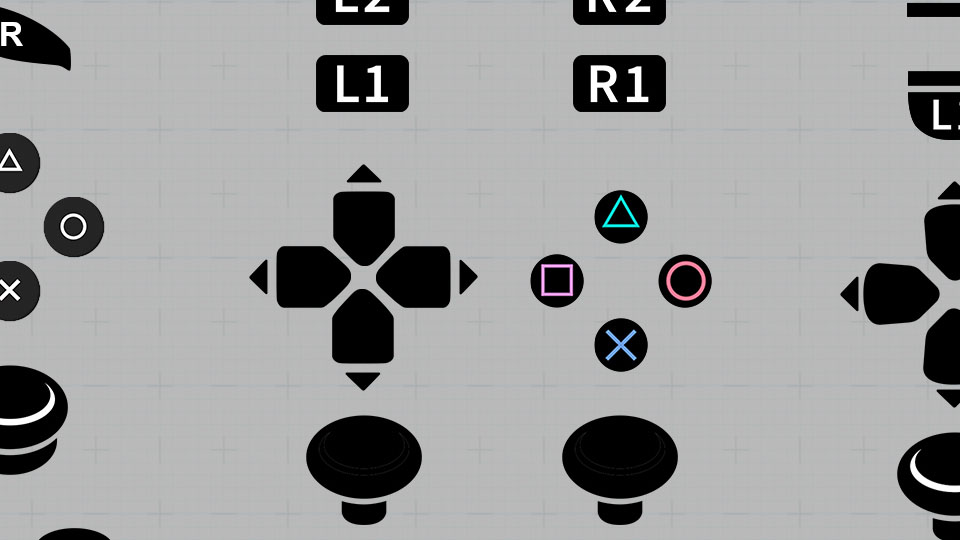
Playstation™ buttons
A set of button icons for various game projects on Playstation platforms. These icons are used in the UI for communicating controller setups and have all been through Sony TRC checking.
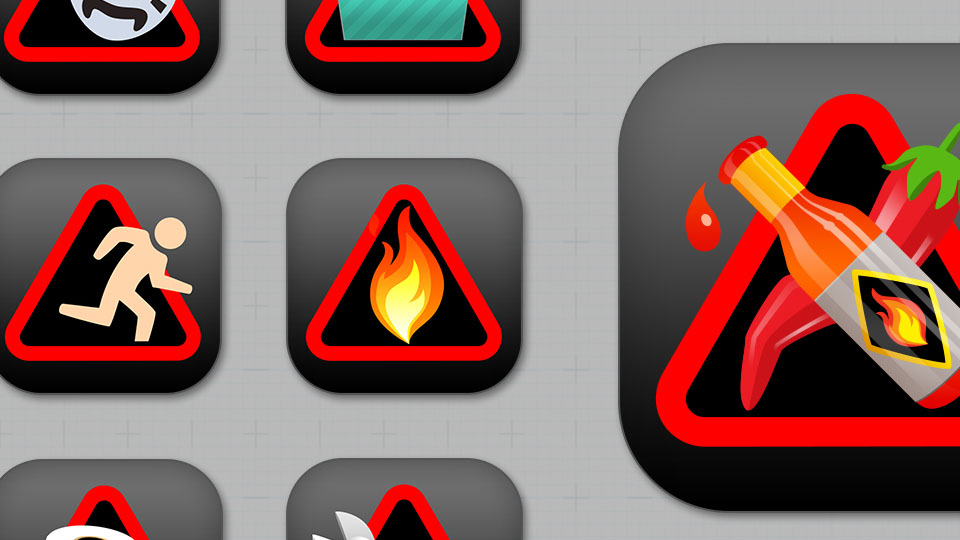
101 Ways To Die™ UI
User Interface elements that were completed for 101 Ways To Die which was released on PC, PS4 and Xbox One in 2016 All elements were modelled and textured in 3ds Max 2015 and exported as .obj into the game engine.
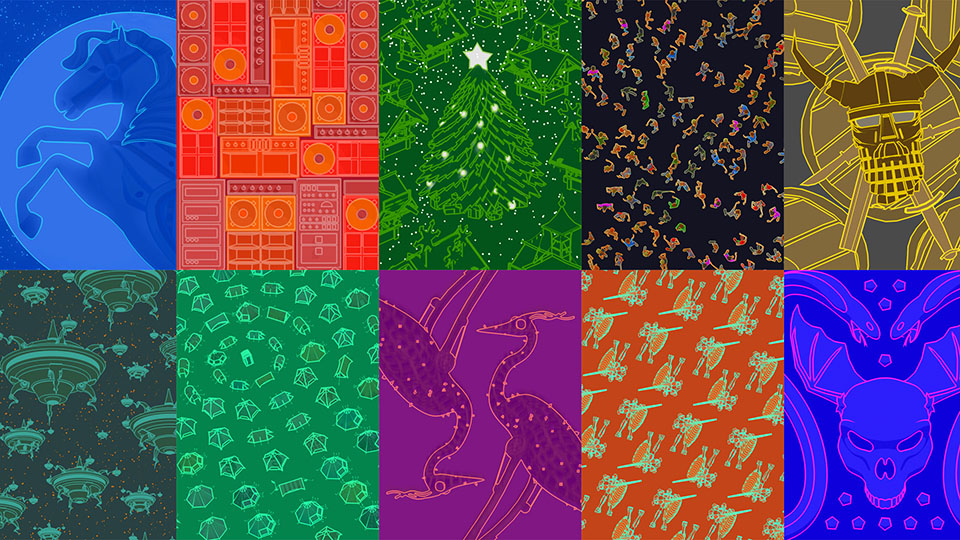
Bigfest™ Posters
A set of posters I designed for Bigfest poster missions. Rendered in 3ds Max using some great game assets made by the team.
Bigfest™ Vectors
Icon and vector work done for Bigfest, released in 2015 on Playstation Vita.
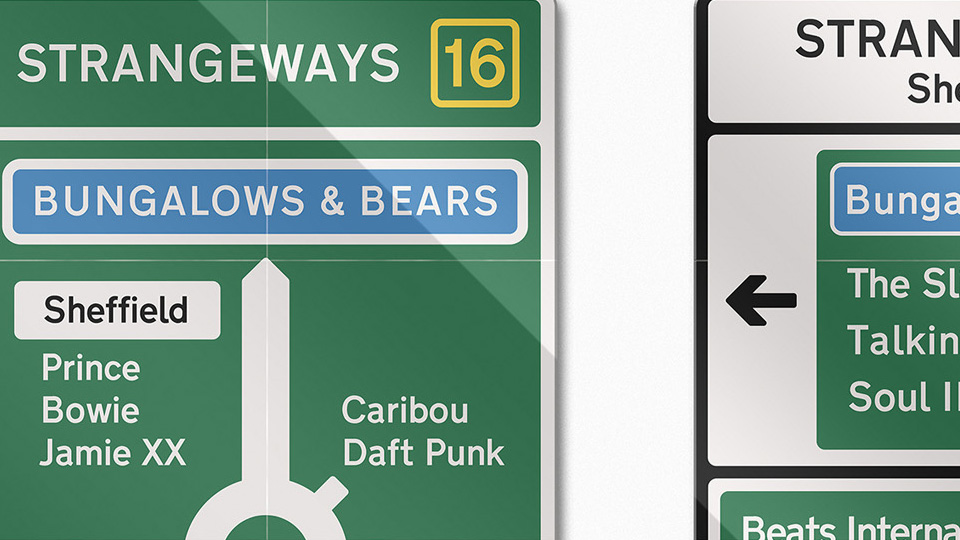
Strangeways Posters
Monthly poster for the Strangeways monthly Saturday night residency. Based on street signs in and around Sheffield.
'The Humans' PC Trailer
This is a promo video I put together at the end of the project. Developed by Blue Monkey Studios, based in West Yorkshire UK during 2008 and finished early 2009. It is due for release Q4 2009 on DS and PC.
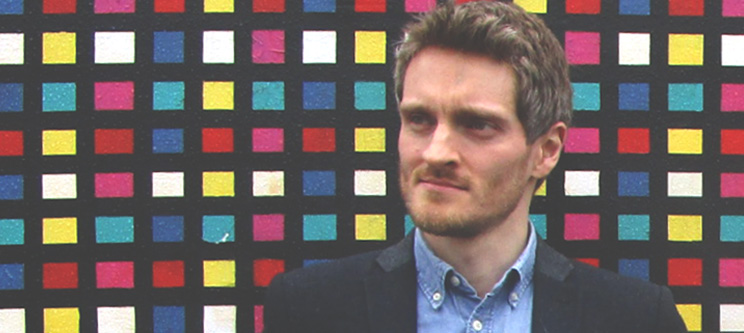
Alex Richards is an artist and designer based in Sheffield, UK. He has twelve
years experience as Art Lead and Art Manager.
Along with freelance jobs for various clients, Alex has been contracted by Sheffield game developer On The Metal as their Art Manager to oversee and work on a wide variety of projects.
Looks Feels Ltd
Looks Feels Ltd is a registered company in England & Wales.
All enquiries:
Services
#3D #2D
#GameArt #GraphicDesign
#ConceptArt #Texturing
#3dsmax #Mudbox
#UnrealEngine #Photoshop
#Sculpting #VectorArt
#WebDesign #Photography
#Photogrammetry #Filming
#VideoEditing
Online

3D and Concept work

User Interface and Graphic Design

Photography
Connect

Twitter
Youtube Channel

Professional Network